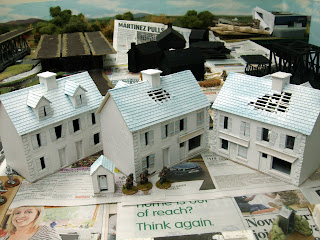
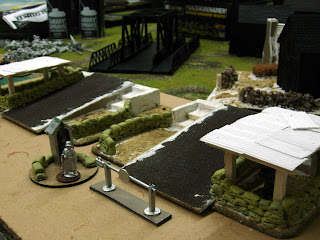
I have now completed the scratch built WW2 Girder Bridge and the HACME Normandy buildings I just need to add posters and signs once I have purchased colour ink for my printer.
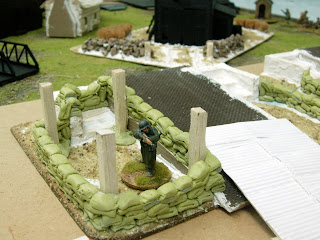
Here you can see the sandbags have now been built up to the required height. In future I will probably use commercial sandbags where I can get away with it and just add home made sandbags to tie the piece into the terrain as I used three packs of Miliput and many hours to make this little lot.
The buildings are from HACME at www.rapierminiatures.co.uk
I saw these on 'Lard Island News'. http://toofatlardies.co.uk/blog/?p=1437 Richard Clarke did an excellent article on how he prepared and painted the buildings and inspired me to buy some for myself. As Richard advises and something which I did was add an overall wash of PVA glue, Polyfiller and water mix to the building to give the walls some texture and also has the benefit of strengthening it, having said that, the buildings are quite sturdy and very well made.
I then start priming everything white apart from the centre span of the bridge.
Then comes the brown paint. SANDTEX Masonry paint. This comes in a big tin and I use a big household brush to cover everything.
Then a dark grey on the roofs, iron work of the bridge and road surface.
This is my original girder bridge that I had Andy from 'Last Valley' make for me many years ago. The river bank and bridge have been repainted and I have fitted new ramps to tie in with my roads.
Old bridge above and new bridge below.
As you can see, the corrugated iron and sandbag roofs lift off.
Sand spilling out from damaged sandbag.
Looking length ways along both bridges.
Here we have the buildings with the doors and shutters now painted, just waiting for the posters and signs to be printed and attached.
My next post should have pictures of my Empress Miniatures British Dragoon Guards painted which I will add to my Zulu War collection that is for sale, at no additional charge.
Cheers,
Pat.


