

Dave Green came around my place today to try out my new games room with the larger table and to give me a chance to take some pictures with the sky paper back drop.
We had arranged to play a Chain of Command game using Scenario Seven, from the Too Fat Lardies Christmas Special 2013 (I think).
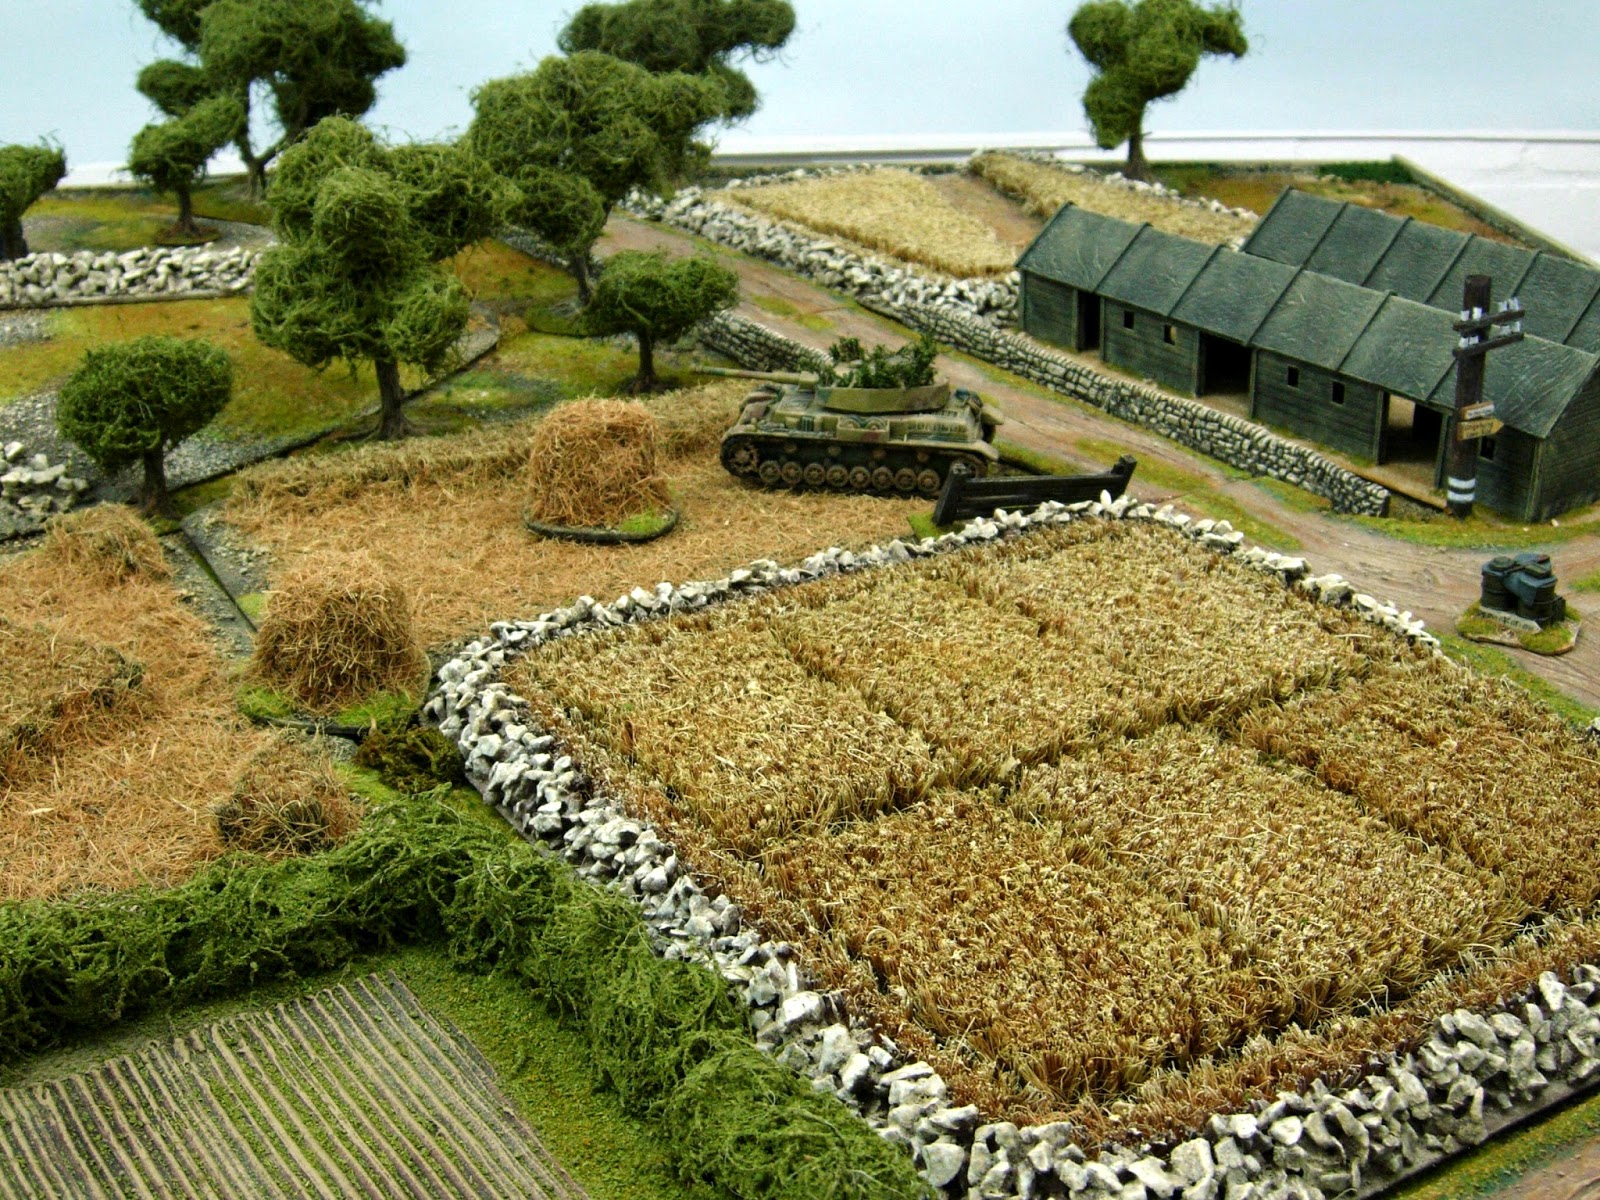
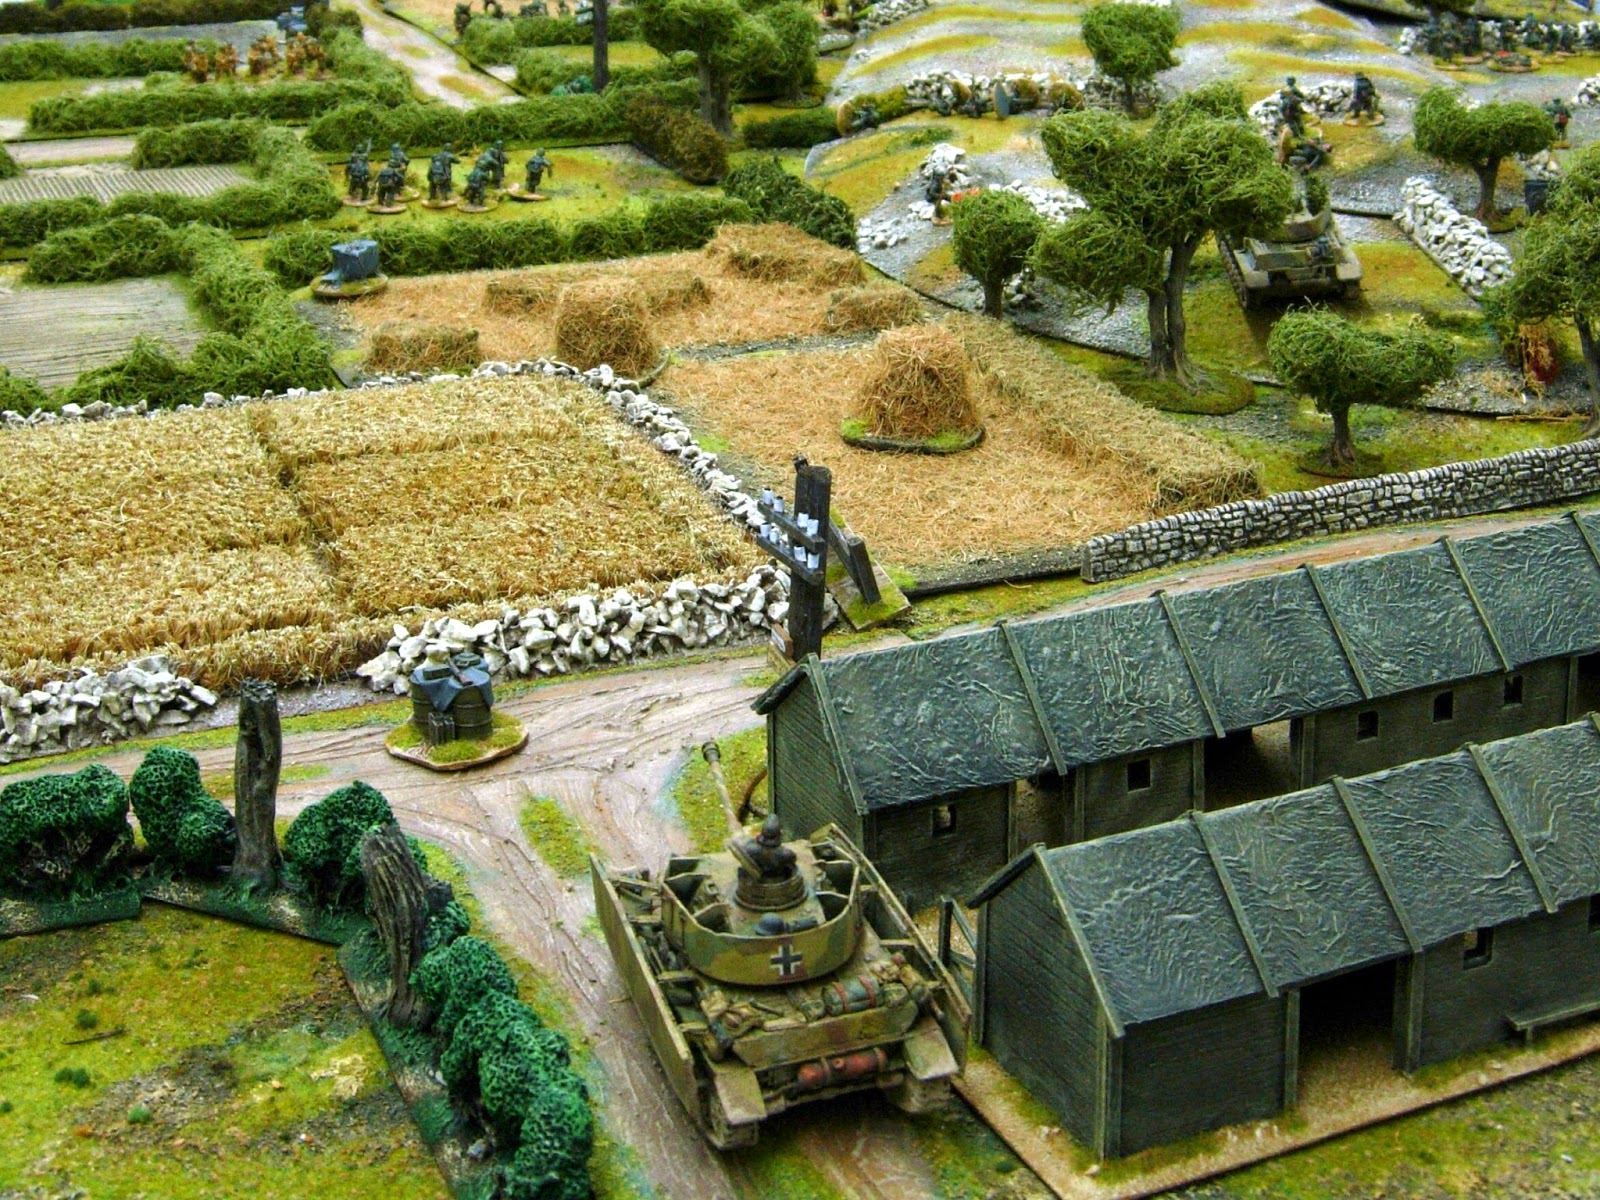
This was an attack and counter-attack scenario where we both had an objective to defend and capture. We had to play down the length of the table (10ft) and I set up the objectives as a crossroads at either end which had to be within 18 inches of your base line.
The crossroads South end of table

Crossroads North of table

I had sent Dave the above pictures prior to the game and a brief description of the terrain to give him an idea of what supports he may need to choose from his lists. Apart from the one narrow road there was a lot of hedges and walls and soft broken ground. Not ideal for Tanks.
Dave had brought along his US Army Armoured Rifle Platoon which had a + 4 rating.
I was fielding a German Infantry Platoon, Regular with a rating of 0. ( Only the one LMG per squad with these guys)
We went with option 1 in the scenario and just agreed on a relatively high level of support.
A massive 18 points of support but we just wanted to get lots of stuff on the table. The Germans also
get an extra 4 points for having a rating of 0 against the US 4. This gave me a huge 22 points to choose from my lists.
We were not going to let onto each other what we had chosen from the lists but just keep the surprise to spring on each other as the game unfolded.
For the record I had chosen three Panzer IV's at seven points each (21 points) and having three of the same vehicles you get the bonus of having a senior leader who is able to give commands to the other tanks via radio. I also opted for a driverless Kubelwagen at one point for my Panzerschreck team, if they needed to get up the table on the hurry up.
Dave had chosen a Sherman Tank, a Regular Parachute Squad with Junior Leader, and a couple of mine fields.
I let Dave pick which side of the table and he opted to attack from the North.
With the patrol phase, you get to grips very quick even on a large table and we went through this sequence and then deployed our jump off points, placing one of these back on the crossroads as per scenario rules. Dave had let me dominate the high ground with my jump off points, and I found out why soon enough when he deployed his minefields cutting off my advance down my right side of the table along the high ground.
On with the game and some pictures. Unfortunately they didn't all down load in sequence but I am sure you will get the idea of how the game went.
Some of Dave's Jump off points in the middle of table.

My jump off points centre and right flank.

Dave deployed his minefields to prevent me going down my right flank.


Dave gets to deploy his first squad at the North base of the ridge on my right flank.

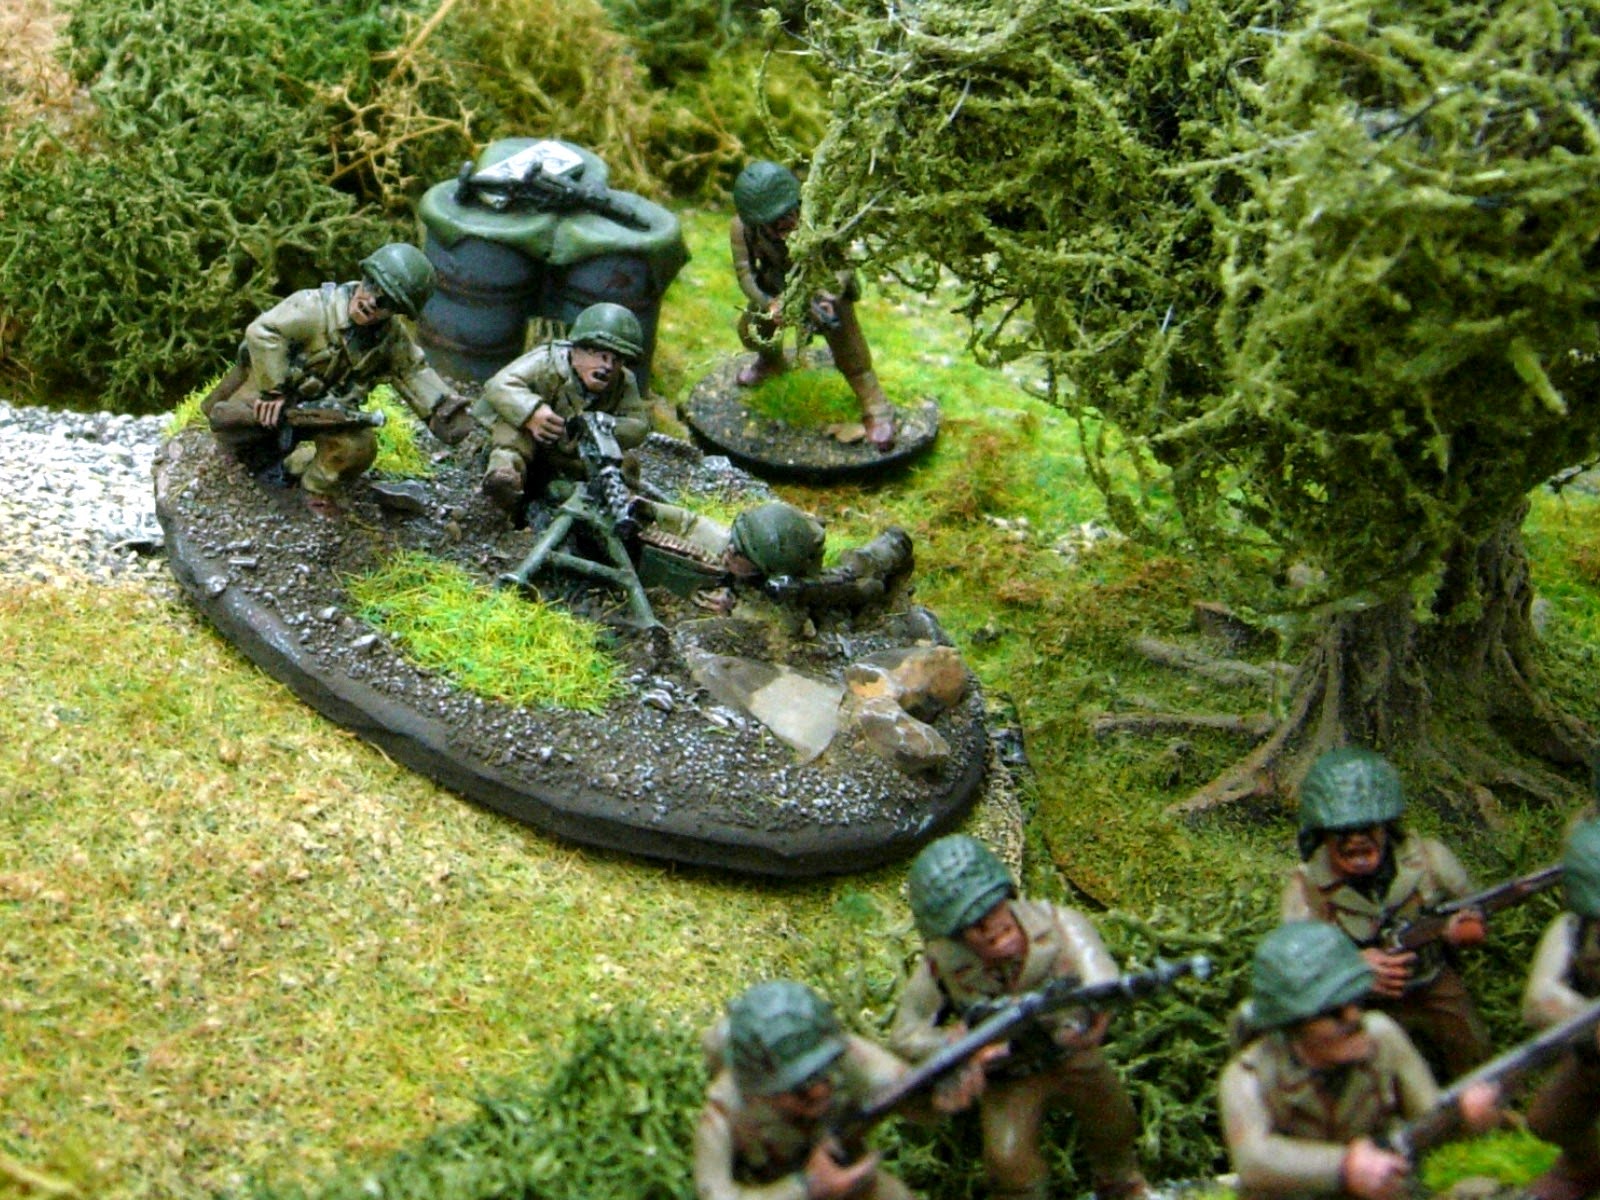
Also one of his MMG's. The US Armoured Rifle Platoon gets two of these as standard. Part of the reason I chose so many tanks, I wasn't go to win against these in a straight infantry fire fight.
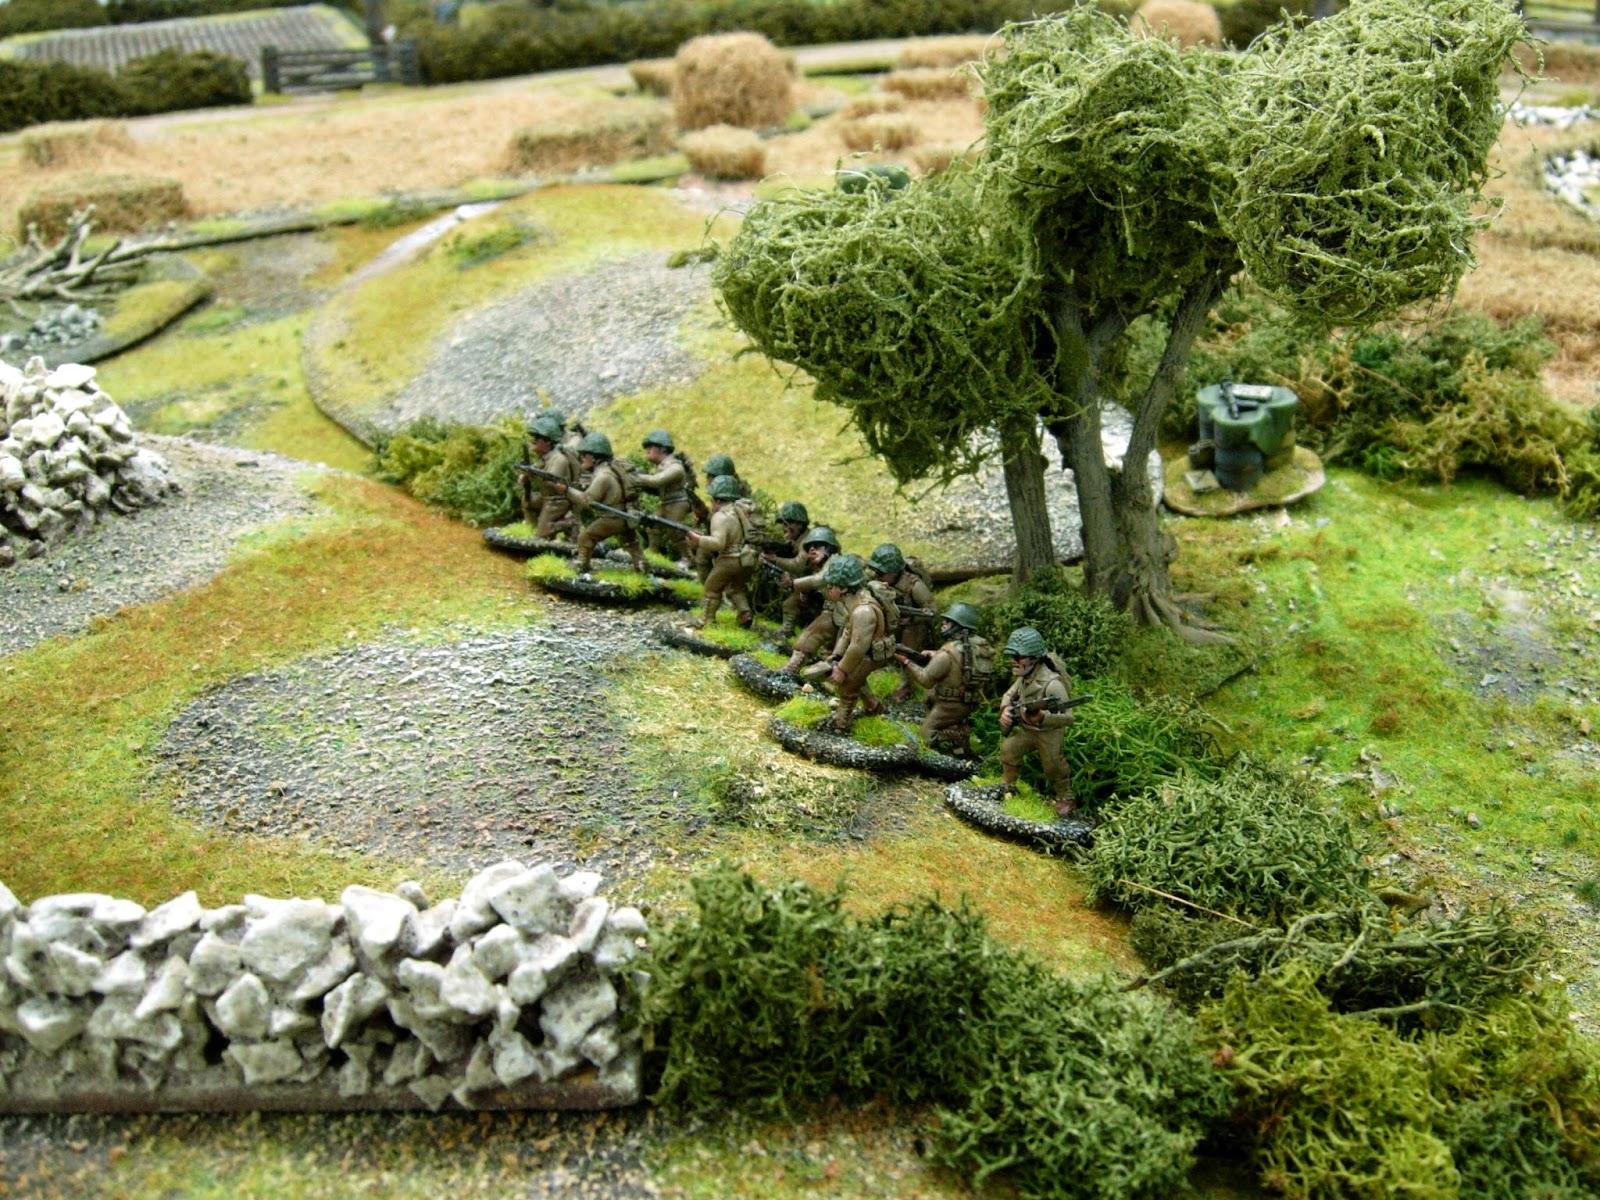
I get to deploy my first squad off my jump off point on my far right flank. Dave's Yanks are just over the ridge and to my right.


Lucky for me I get to roll double six, which gives me two goes in a row. I manage to bring fire from two squads against Dave's one and start to do some serious damage before he gets chance to start deploying his MMG' team.

You can see in the distance the Yanks have deployed a second squad.


Looking from the other side of the table, the second American squad deployed and moved up to hedge line for cover.


US mortar deployed at base of ridge, back from the first squad which has come under fire.

US first squad has returned fire but due to their reduction in firepower, only manage to inflict a point of shock on German first squad.

The rifle team of German second squad come under fire and feel the brutal effect of the US MMG. Three dead and four points of shock, also because they had moved away from their LMG team, the four points of shock causes them to become pinned.

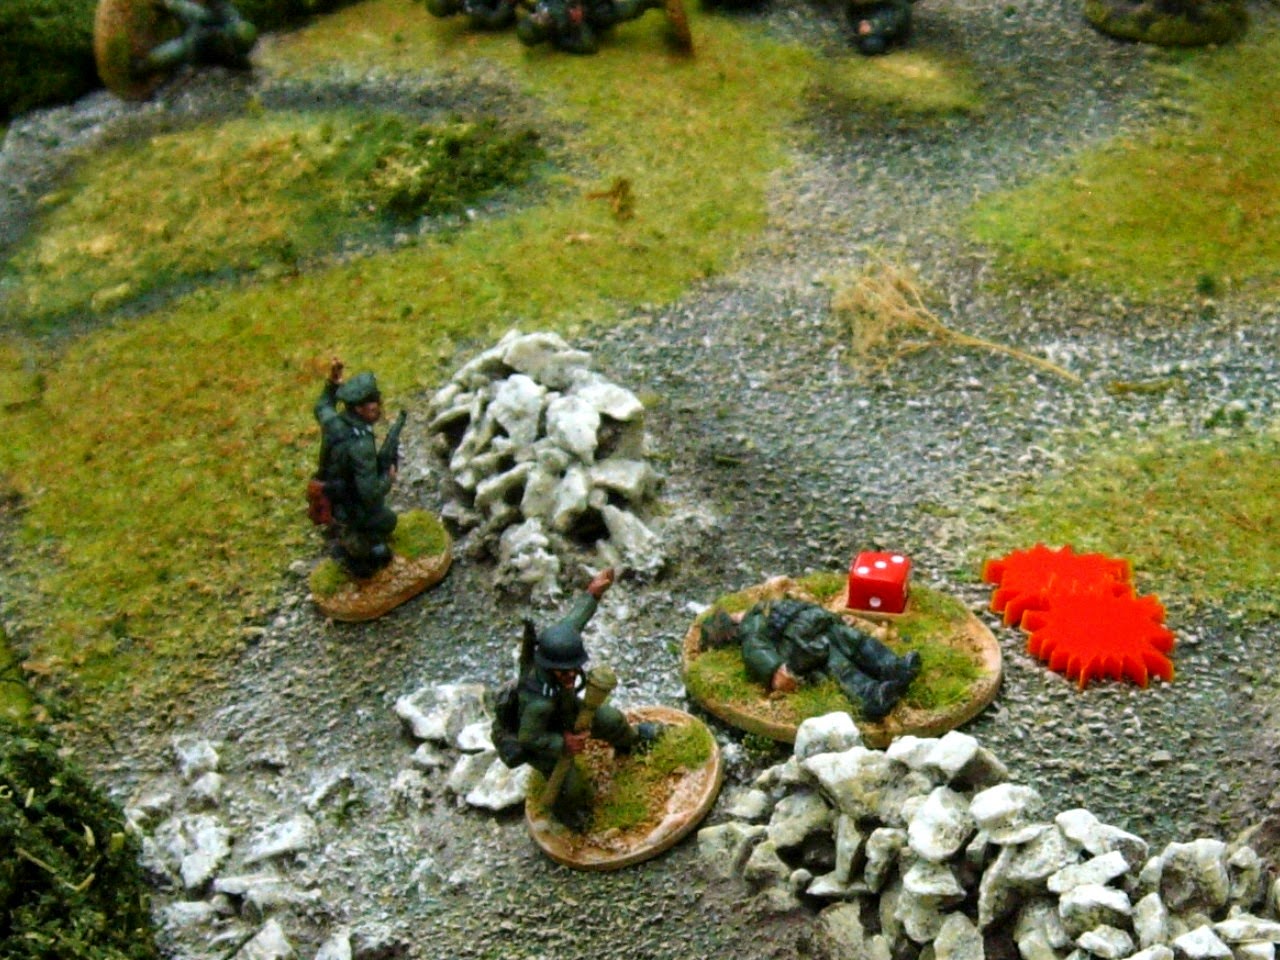
The first US Squad breaks and falls towards the jump off point. Also Platoon morale has been tested for and reduced.

The rifle team from German second squad has now broken and fallen back with the lone survivor. Moral drop for German platoon. My senior leader had been moved around ready to start rallying off shock before end of turn, to prevent unit leaving table and further morale drop.

Surprise for Dave, I bring on my first Panzer IV. Vehicles may only enter from a road if available, on your base line. This was one of those toy tanks that I purchased from toy shop for £3 and repainted. (See previous post on this blog.)


Tanks can move across soft ground but if you roll a double, there is a chance you will get bogged down. You can roll up to three dice but I was only rolling one. Slowly does it. At this pace you still get to fire at full effect if need be.

Now where are those MMG's.


Both MMG's were now at bottom of ridge and as you can see, several casualties and shock attached to them. I wonder where that had come from?????


Dave brings on a Sherman from his base line.

I am quite pleased with the effect of the sky paper backdrop.

The US move their second squad around the hedge to keep maximum cover.

What's this, a second Panzer IV. This one is from Warlord. Again coming on from the baseline.


The German deploy their third squad from their jump off point in the centre of the table.

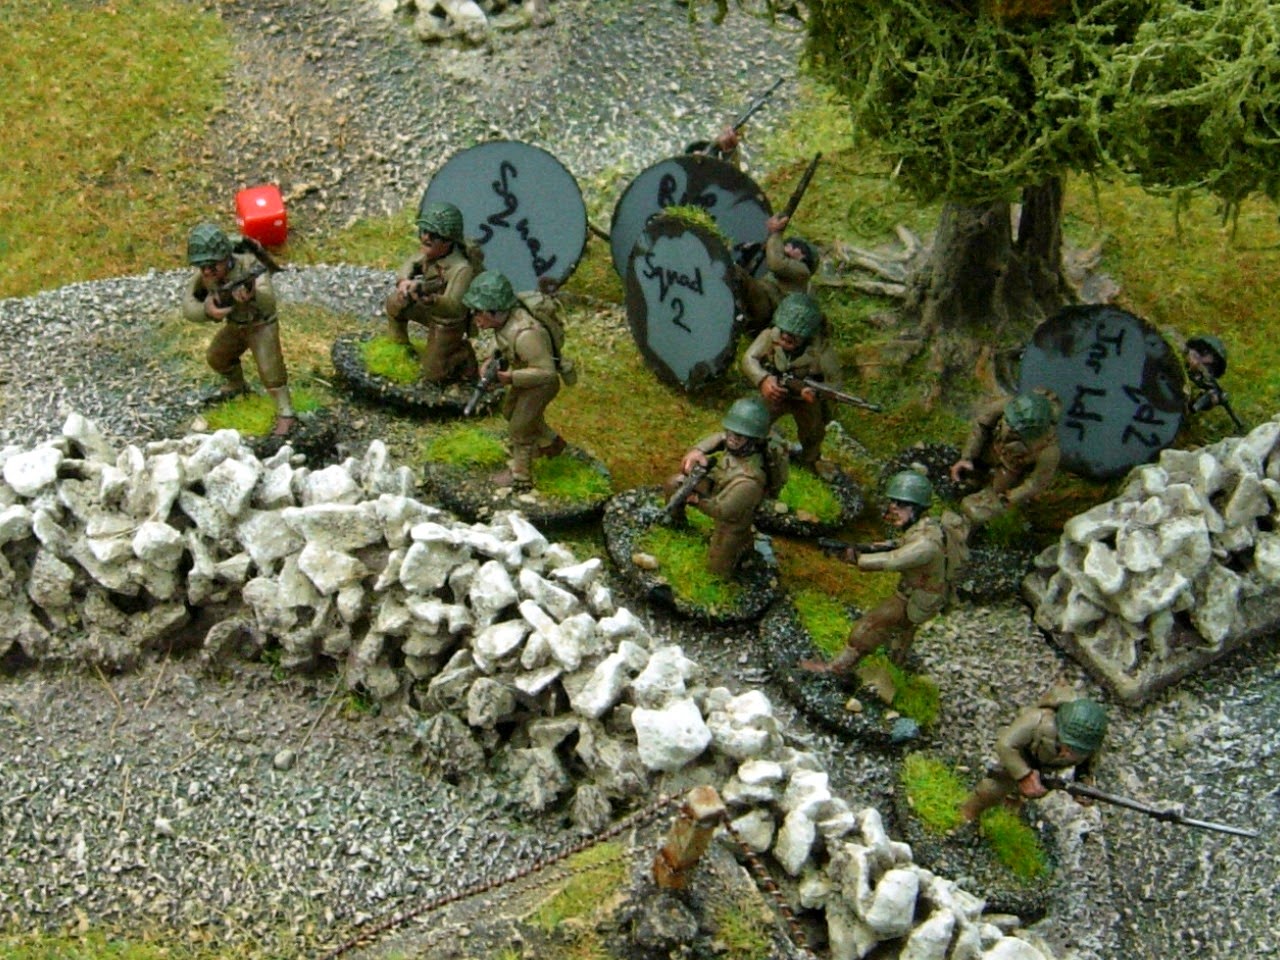
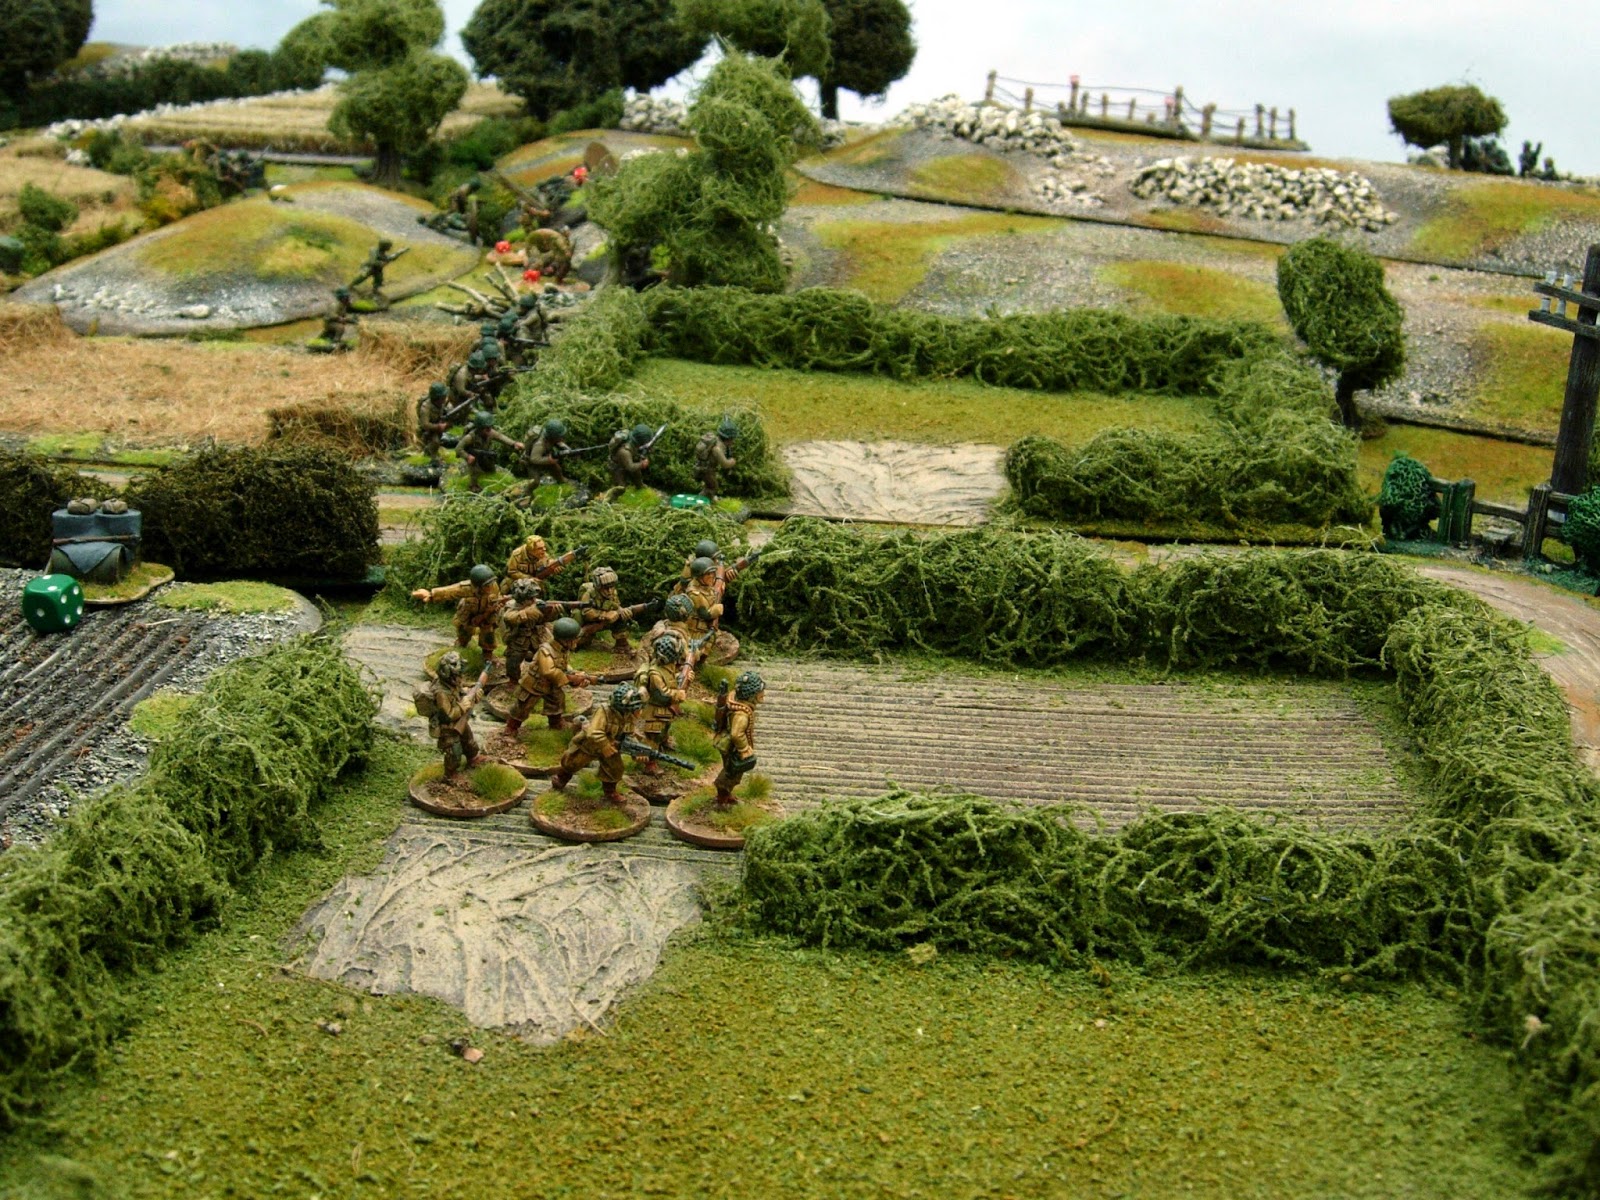
Dave uses a chain of command dice to move his jump off point forward and gets to deploy his US Paratrooper Squad.

Meanwhile there has been a bit of a tank battle going on but due to movement and part concealment on both sides, all tanks are still in tact. Although not looking good for the Sherman as he is having to try and fend off two Panzer's


Hang on a second, make that three Panzer IV's that the Sherman has to deal with. This is the tank commander that can part control the other two tanks by radio with his higher initiative.


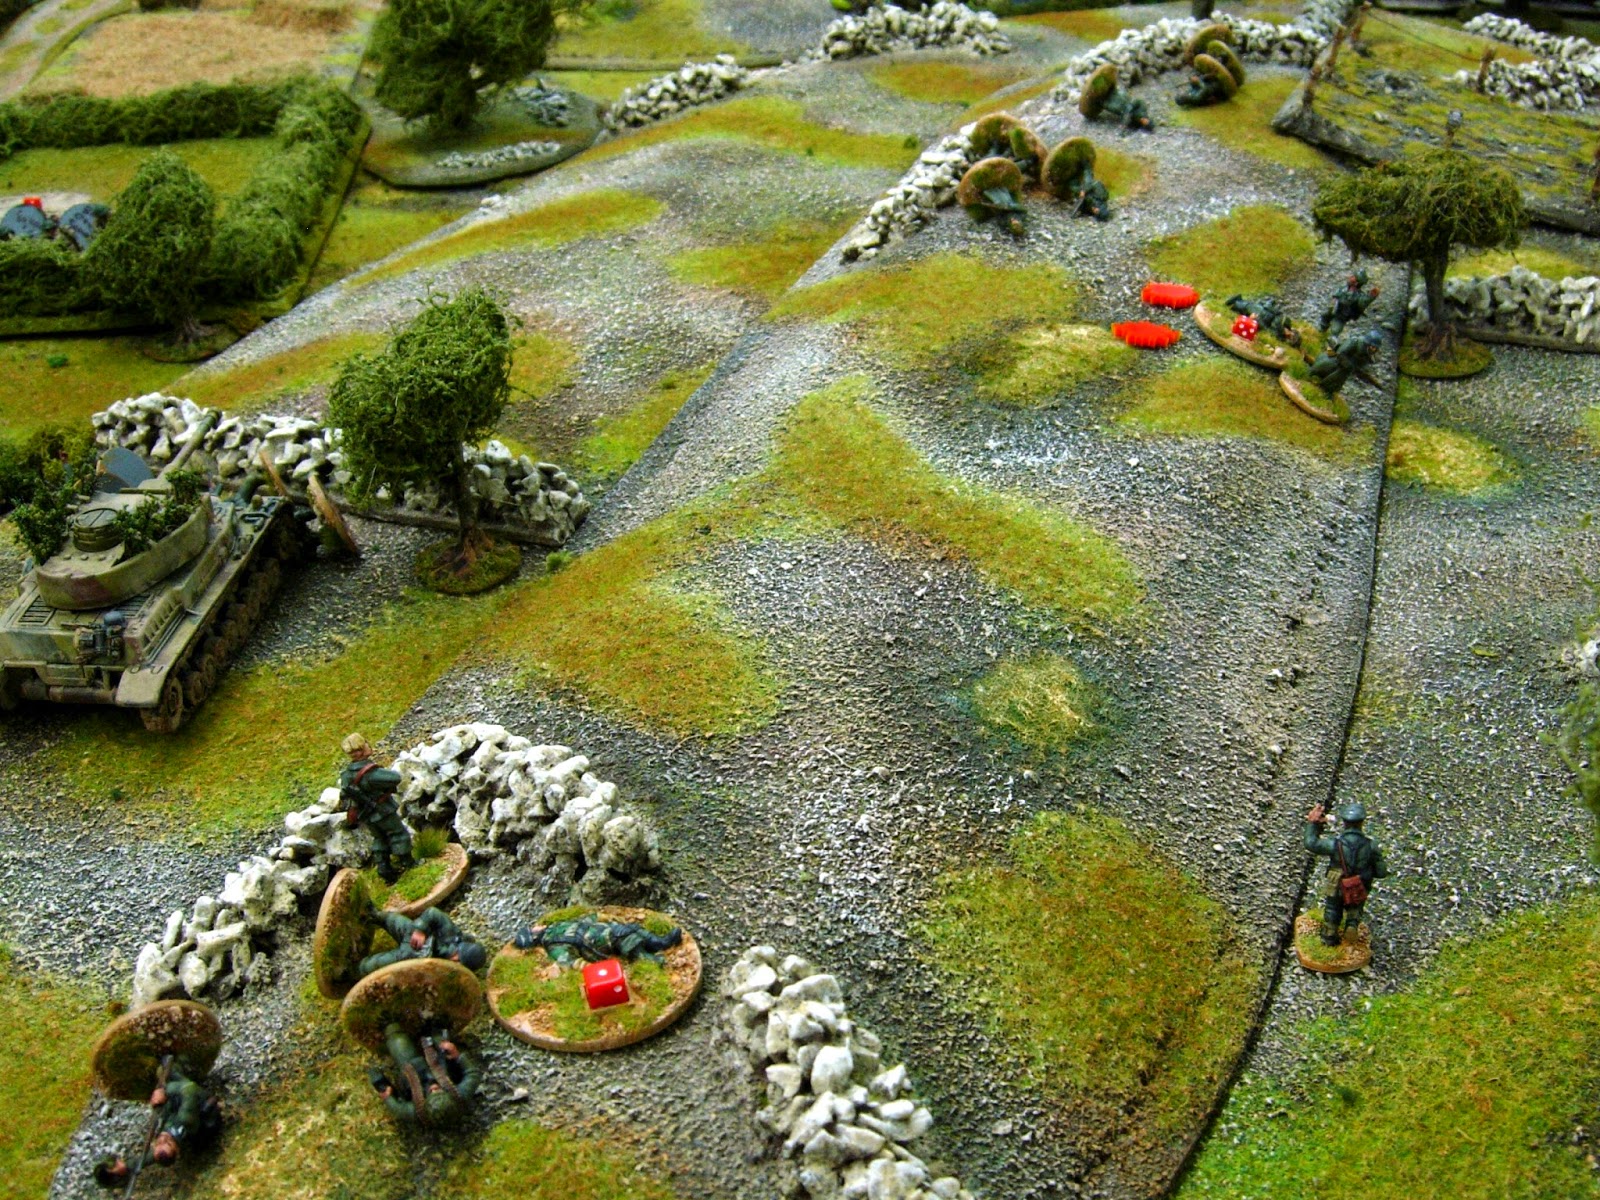
With the MMG's driven off by the Panzer, the German first squad feel it is safe to pop their heads over the ridge.

They set themselves up behind the wall and start pouring fire into the flank of the US second squad, that is also under fire from the Panzer's MG.

It wasn't go all my way though, Dave brought on his HQ rifle squad and this combined with his mortar fire made short work of my German first squad. Also my second squad at the bottom of the picture was down to one man and one point of shock. My right flank was just about gone, thank heavens for the tanks.


The US HQ Rifle Squad with a Bazooka.

The three Panzer's eventually got the better of the Sherman, destroying his main gun. He then reverses back through the hedge into cover giving the infantry the only support he can with his MG's. main


Not much use for it now but I thought I would bring on my Panzershreck team in the Kublewagon.


The German third squad waited in over watch for the US Para's who were under heavy fire from the Panzer's and losing casualties. They couldn't stay where they were, so they came forward and chanced their arm. The German's got to fire first with an SMG at close range, plus LMG and a full squad. Four men down and seven points of shock was not good but they returned fire causing three casualties and two points of shock on the Germans.


The rules work really well and are highly recommended if you are into WW2 and if your not, you will be after you have tried these. Dave is a true gentleman and a great person to play against. We are both not bothered if we win or lose, as long as the game is realistic and fun, which this set is.
Thanks Dave, looking forward to the start of our campaign.