

Sorry for lack of feed back on your blogs chaps but not had much time for the hobby lately and what time I have had, I've used to visit Partizan last Sunday and this Sunday a little more work on the bridge.
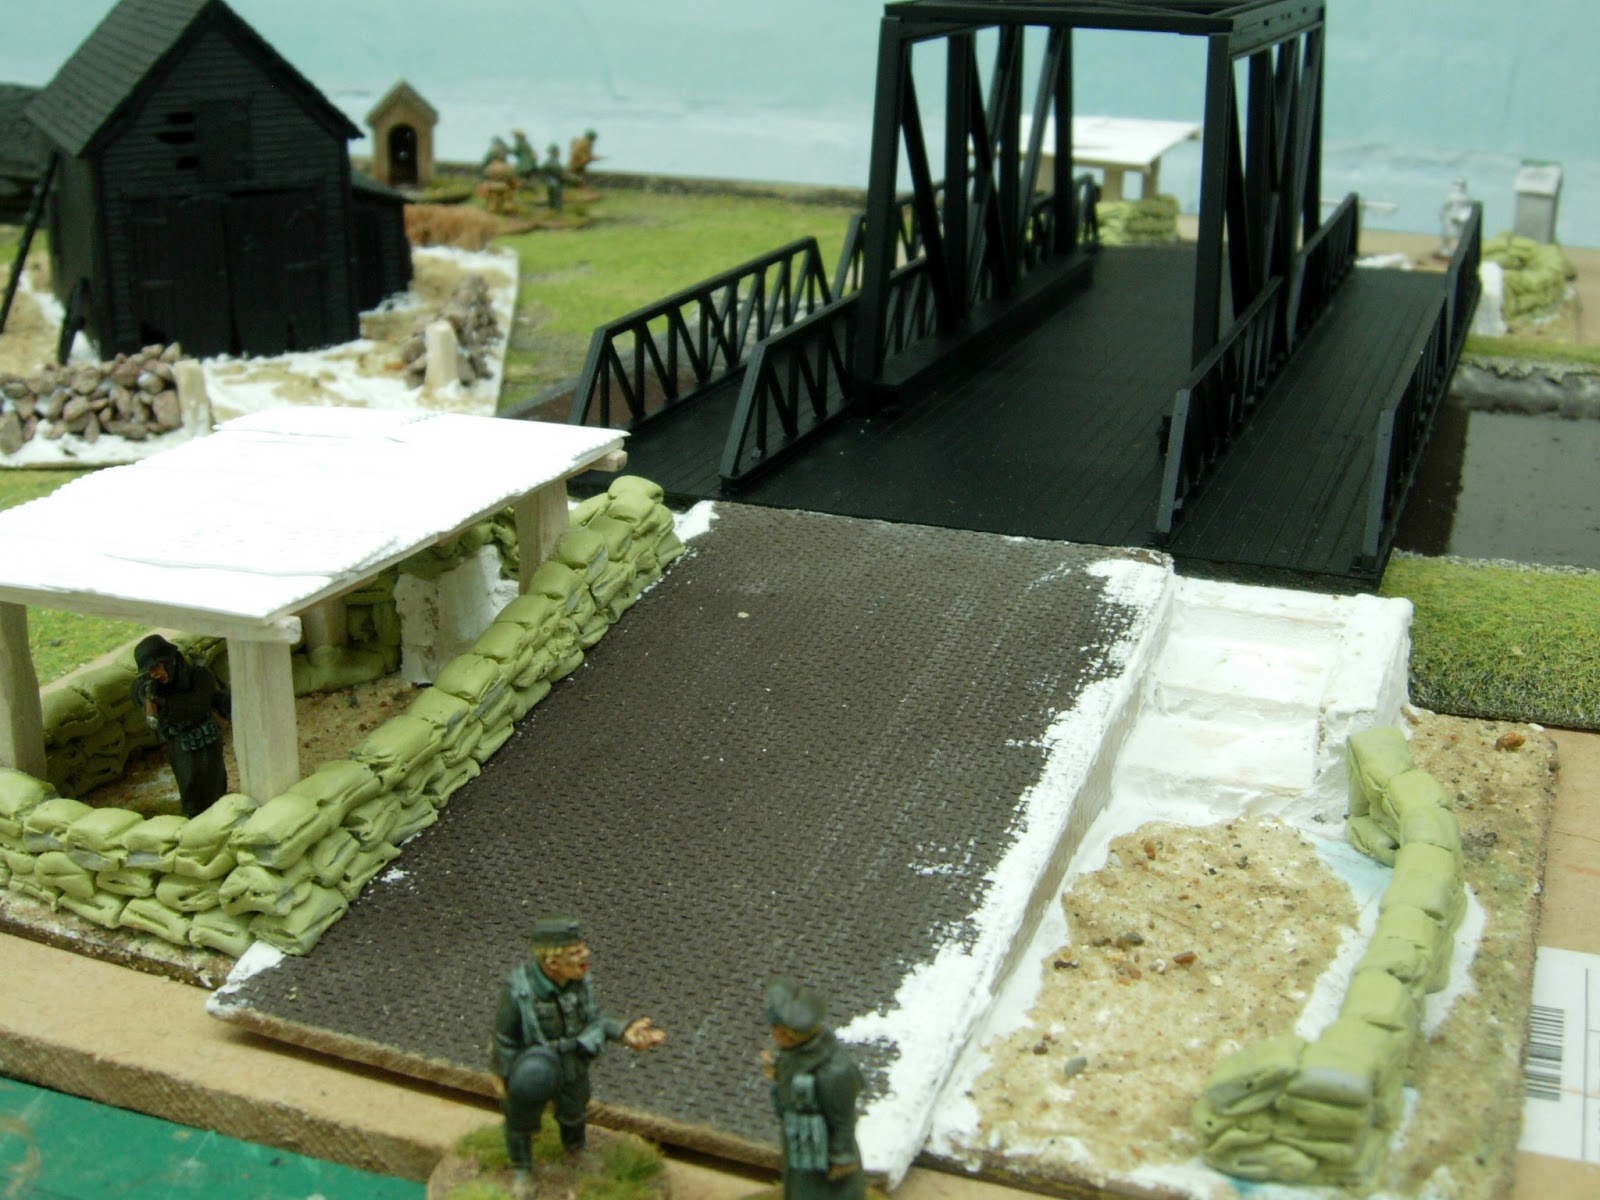
I have been working on the ramp/bridge ends, making a bunker and check point for each end.
This check point is from Wargames Foundry and I notice Warlord have released a check point set, which I will get for the other side of the bridge or my second bridge. (Would you have a check point on each end of a bridge?)

These are some of the goodies I purchased at Partizan last Sunday and as you can see, it is mostly connected to WW2. These are in anticipation for the release of The Too Fat Lardies Chain of Command.

I still need to increase the height of the sandbags around the bunkers and also fix some sandbags on the roofs.


So, I need to do some more sandbags and then the painting and weathering.
Cheers,
Pat.
That's shaping up very well, Pat. I admire your ability with greenstuff - those sandbags are fantastic.
ReplyDeleteBest wishes
Giles
Love the checkpoint and the sandbags, great inspired work!!
ReplyDeletePhil.
Looking good Pat, this will be something to behold...
ReplyDeleteYour Western stuff you will be pleased to know got a good outing yesterday at Wyvern Wargamers - Operation Market Larden.
Thanks Chaps.
ReplyDeleteStuart, glad to hear it, I checked out your blog and looks like you had a good turn out.
Cheers,
Pat.
Excellent progress Pat, may I ask where does the corrugated iron sheets come from?
ReplyDeleteThey look like the Card used on inside of biscuit packets...the round tubes of biccys.
DeleteExcellent looking conversion to create the Bridge.
DeleteMichael, the corrugated sheet I purchased from a model shop.
DeleteIt is labelled as Paper corrugated 500mm x 700mm, 2mm spacing and flat on reverse.
Cheers,
Pat.
Thank you Pat and Paul; looks like a visit to the model shop and a packet of biscuits on the way home! ;-)
DeleteAs ever Pat excellent craftsmanship!
ReplyDeleteChristopher
Coming on well Pat.
ReplyDeleteHi Pat,
ReplyDeletethat's going on very well. Looks really promising. I'm looking forward to see your upcoming progress.
Cheers
Stefan
Greate work Pat !!!
ReplyDeleteBest regards Michael
That's going to be a lovely looking piece!
ReplyDeleteSimon
Great looking set up. I agree with everyone, this will be quite a showcase. Best, Dean
ReplyDeleteThanks very much chaps, I am looking forward to trying out for the first time, some rust techniques on this when I paint the bridge.
ReplyDeleteCheers,
Pat.
Looks great Pat! I'm looking forward to seeing how it all turns out.
ReplyDelete