

This is a work in progress for The Road to Dombas project but things are coming along quite quickly so I thought I would do another post.
First up, Winter Woods.
Rather than single trees, this time I opted for groups of trees where the base would define the edge of the wood.
I did consider buying some laser cut MDF sabot bases specifically for making woods, where you can remove trees from the base to make room for placing figures inside the wood. As I found an old sheet of hardboard in the back of the shed when I was having a clear out, I thought I would save myself a few bob and cut this up into irregular shapes to make some bases for my woods instead. The sheet was a bit warped, damp and mouldy but not so much that I couldn't work with it.
I cut out about a dozen irregular bases no bigger than 8 - 10 inches. I also had enough Woodland Scenic plastic trees that I could glue three trees to each base. They were glued with a hot glue gun to the base, keeping them near the edges so that there would be plenty of room in the centre of the base for troop movement. I also glued a couple of stumps and fallen trees on the base that wouldn't effect troop placement but would help to fill the base out along with some wooden fencing glued randomly along one or two edges. (fences made with matchsticks and wooden coffee stirrers.)

Next I applied tile grout around the base of the tree to blend it in and for extra strength and also to give the rest of the base texture.

When dry, I covered the base in PVA glue and sprinkled sand on top. Let dry and give a second coat of PVA over the sand to seal it in.

As the trees are made of plastic they had to be primed.

I then painted everything, the trees, fencing and base in dark brown paint.

When dry, I highlighted the base but still keeping the groundwork quite dark as it is meant to portray a winter scene. The trees and fencing, I highlighted with grey and then green, trees are seldom brown.


For the dead leaves that you would find around the base of trees in the winter I used some herbs that you can buy from the supermarket or wait until they have reached their sell buy date and take them off your wife's hands when she is about to throw them out. Brush on PVA glue around the base of the trees and then sprinkle the herbs on. Try to leave a pathway in the middle clear of herbs, which gives a pleasing effect (and the woods smell really good).

I will add to the leaf scatter with this little gadget that I purchased from Green Stuff World. I need to collect some more dead leaves when I go for my walks or buy some appropriate colour paper, so that I can punch out some leaves and glue on top of the herbs to finish off.


Lots of room for troop movement without having to remove any trees and yet it still gives the impression of woods with only three trees per base. On top of all that, it cost me very little as I already had the plastic trees left over from my Mediterranean project.


WW2 Norwegian Infantry Platoon - plus supports.

Platoon - without supports.

HQ- Senior Leader with pistol, Inferior Senior Leader with pistol, Inferior Senior Leader with rifle.

Two LMG Squads each with Junior Leader.

Two Rifle Squads each with Junior Leader.

Supports - One LMG and One Rifle Squad.

Two HMG Teams plus a FOO.

And here they are going for a stroll through the woods.


The table so far. I still have a bit to do yet and am still waiting for more materials to turn up in the post. Buildings, civilian vehicles, bridge, clutter and German Para's to finish and then if the isolation is finished, some battle reports of the campaign.

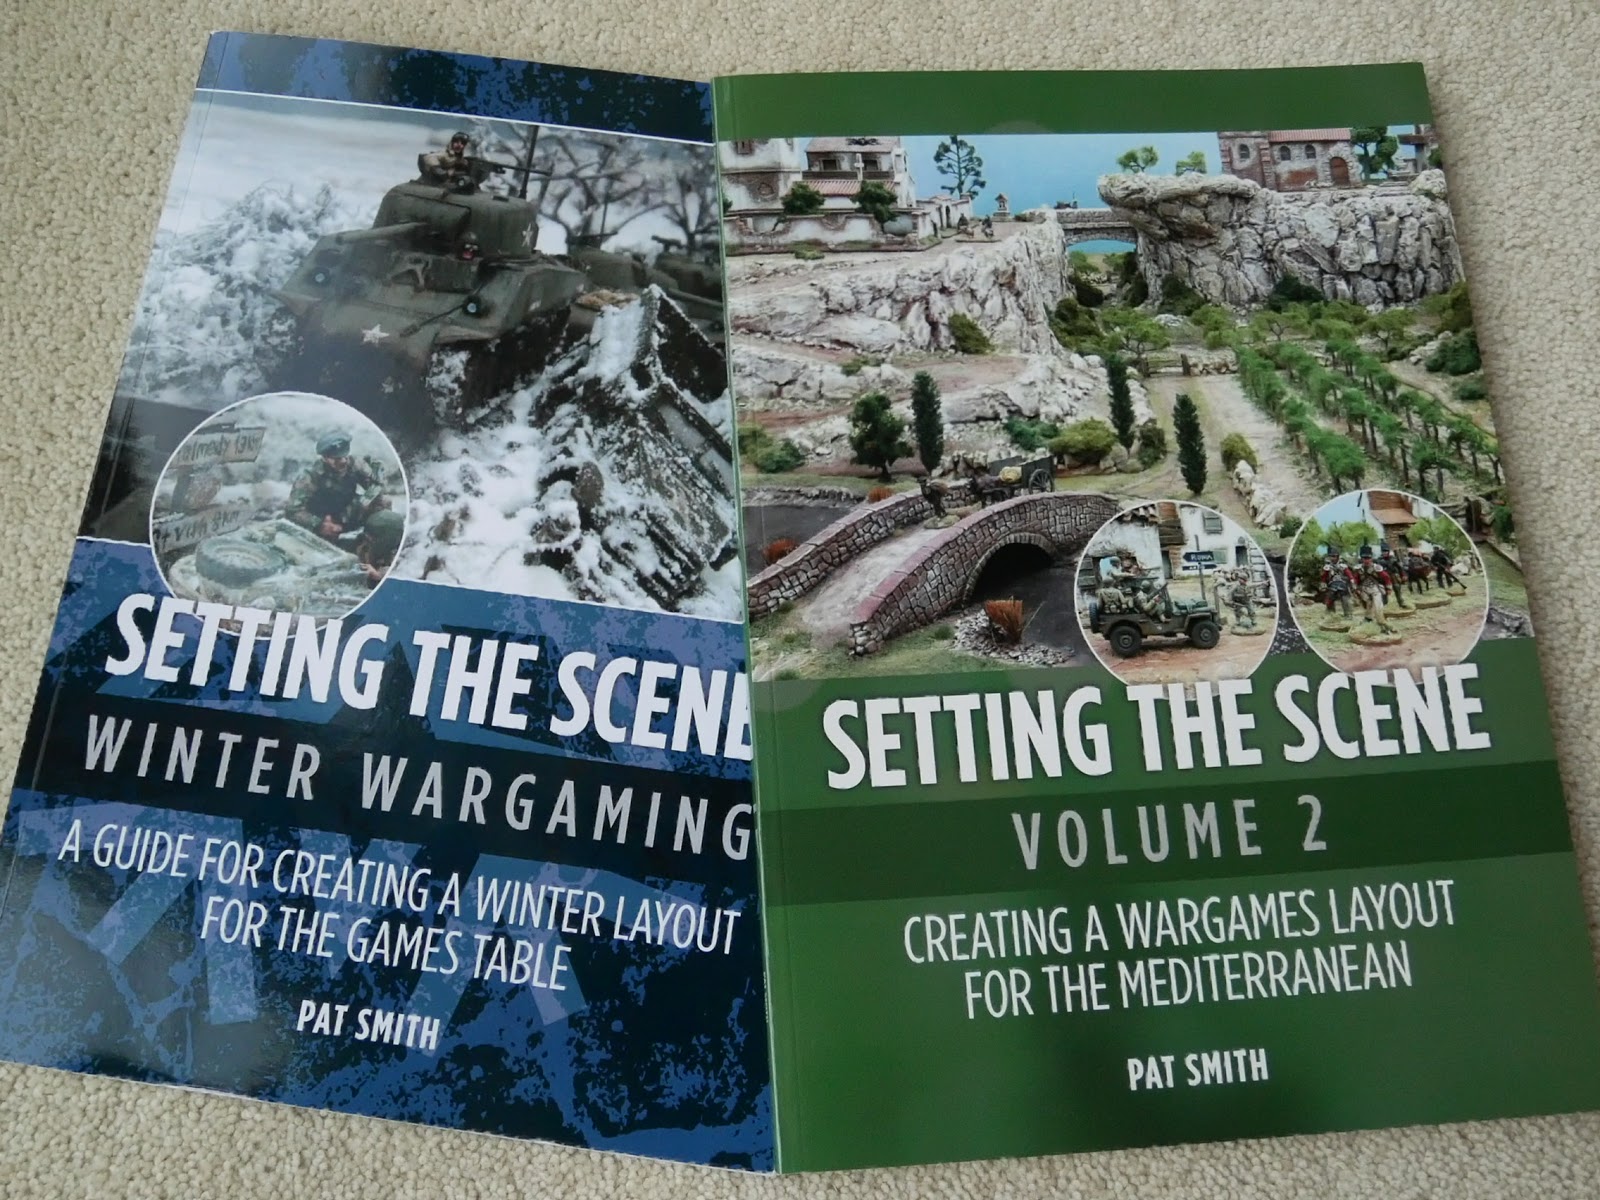
If you are interested in a step by step guide for making winter terrain and you would like to put your name on the waiting list for a reprint of my first book Setting The Scene Winter Wargaming or you would like to buy a copy of volume 2 Setting The Scene The Mediterranean then click on the following Link below.
http://www.stevenlampon.co.uk/settingthescenevol2/
As always Pat, really love watching your process to create such amazing looking terrain.
ReplyDeleteI need to get some green paint on my trees! Lol
Thanks Dai, Wargames Foundry Phlegm Green.
DeletePat I always love your blog for the fact that not only is it a joy to view and always so visually entertaining, i also learn some new technique which I can implement straight away in my gamimg. Thanks for all your wonderful efforts.
ReplyDeleteThanks Carlo, glad to hear it may be of use.
DeleteLovely stuff Pat. Nice clear tutorial - as expected from you mate.
ReplyDeleteFrank
Cheers Frank.
DeleteOhhh awesome work sir!
ReplyDeleteThanks Michal.
DeleteYou're welcome! Stay safe!
DeleteFantastic work as always - I had to laugh at the use of herbs as leaves - dont crunch them up or you will get the same effect of Italian herbs one has walking past a Subway outlet! They certainly look effective however.
ReplyDeleteCheers rross.
DeleteGreat stuff, very effective.
ReplyDeleteThanks Kym, glad you like.
DeleteLovely work as always. I tend to leave my trees loose for ease of game play, but that's just me.
ReplyDeleteThanks Steve, likewise I usually keep my trees loose but I fancied trying something different.
DeleteVery immersive once again, love this!
ReplyDeleteCheers Phil.
DeleteExcellent stuff Pat! The Norwegians look very nice indeed.
ReplyDeleteGlad you like them Roger.
DeleteJust sensational Pat, love the Greenstuff World gadget.
ReplyDeleteThanks Michael, they have some good gadgets.
DeleteVery effective! Nice work Pat. :O)
ReplyDeleteCheers Jim.
ReplyDeleteThis comment has been removed by the author.
ReplyDeleteLovely looking woods, I really like the piping on the Norwegians greatcoats, very nice!
ReplyDeleteBest Iain
Thanks Iain, the Norwegians painted up really quick in their greatcoats.
DeleteVery well done Pat! I honestly wouldn’t have thought it but the three-tree woods do give a good impression indeed.
ReplyDeleteThanks Nick, it is trying to get the balance for what looks right and playability.
ReplyDeleteAs ever Pat a fantastic bit of terrain building!
ReplyDeleteChristopher
Very kind of you to say Christopher.
DeleteGreat looking woods. I really like how that came out. 😀
ReplyDeleteAlright already! I ordered. Vol 2. I hope your happy! I think I will be once it arrives. 😀
Thanks Stew, I have had some very positive feedback with volume 2 and it is 50 percent bigger again than volume 1 at 150 pages.
ReplyDeleteI threw some old dried herbs the other day. Can't believe I didn't recall this use for them.
ReplyDeleteThese all look fantastic! Can I ask what size WS armatures those are? Are they the tallest they do?
Thanks Billy, luckily herbs are as cheap as chips to buy, so you can always get some more.
DeleteI think the armatures where between 3 and 5 inch, so not the biggest trees that WS sell. I will check the height tomorrow and update if they are bigger than 5 inch.
That should read 'were' between 3 and 5
DeleteSilly Bugger.
Yep! the WS tree armatures are from the 3 to 5 inch bag code TR1122 and you get 28 in a bag, so excellent value.
DeleteExcellent work! Terrane is wonderful!
ReplyDeleteThanks Sergey.
DeleteThat is some excellent progress there Pat. I'm sure you employ some level of witchcraft to paint so much at an excellent level and get terrain done at the same time! lol
ReplyDeleteThanks Jay, the Norwegian infantry paint up pretty quick as they are all in greatcoats. I am on a roll at the moment with the German Fallschirmjager with just another 36 to paint and I will then have enough for the campaign.
ReplyDelete