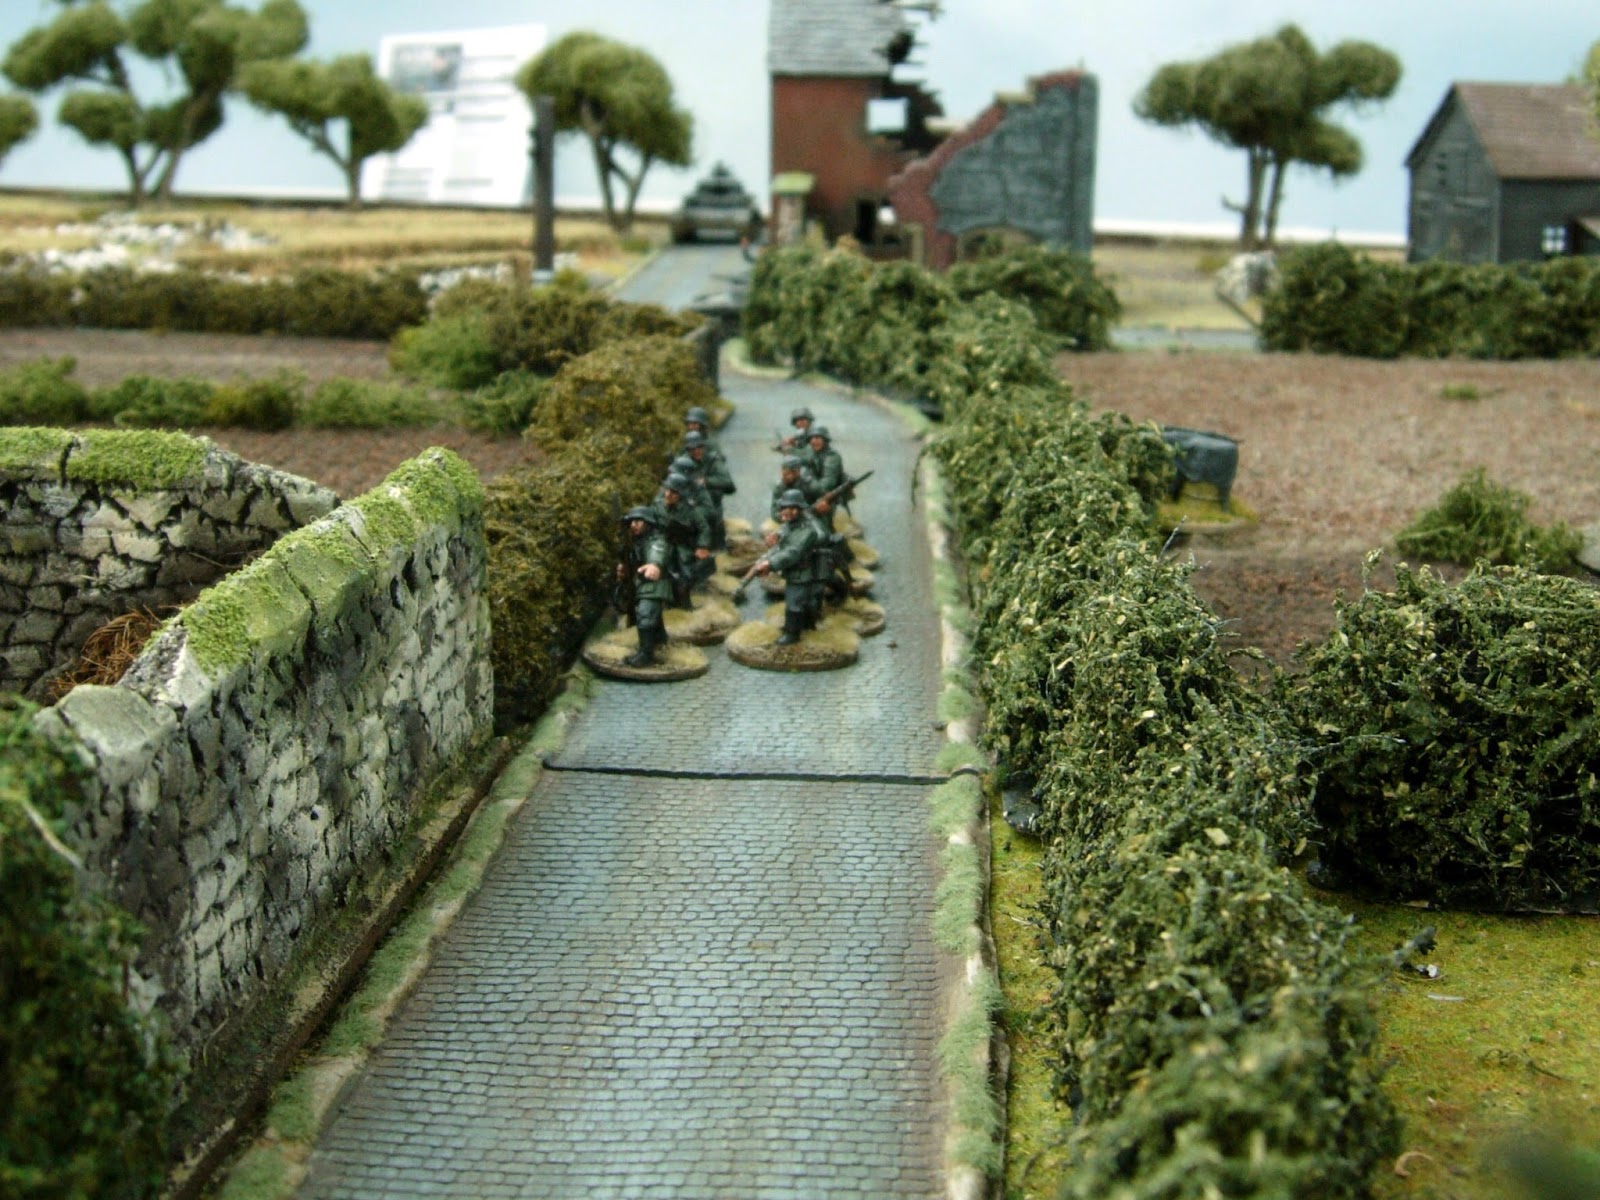
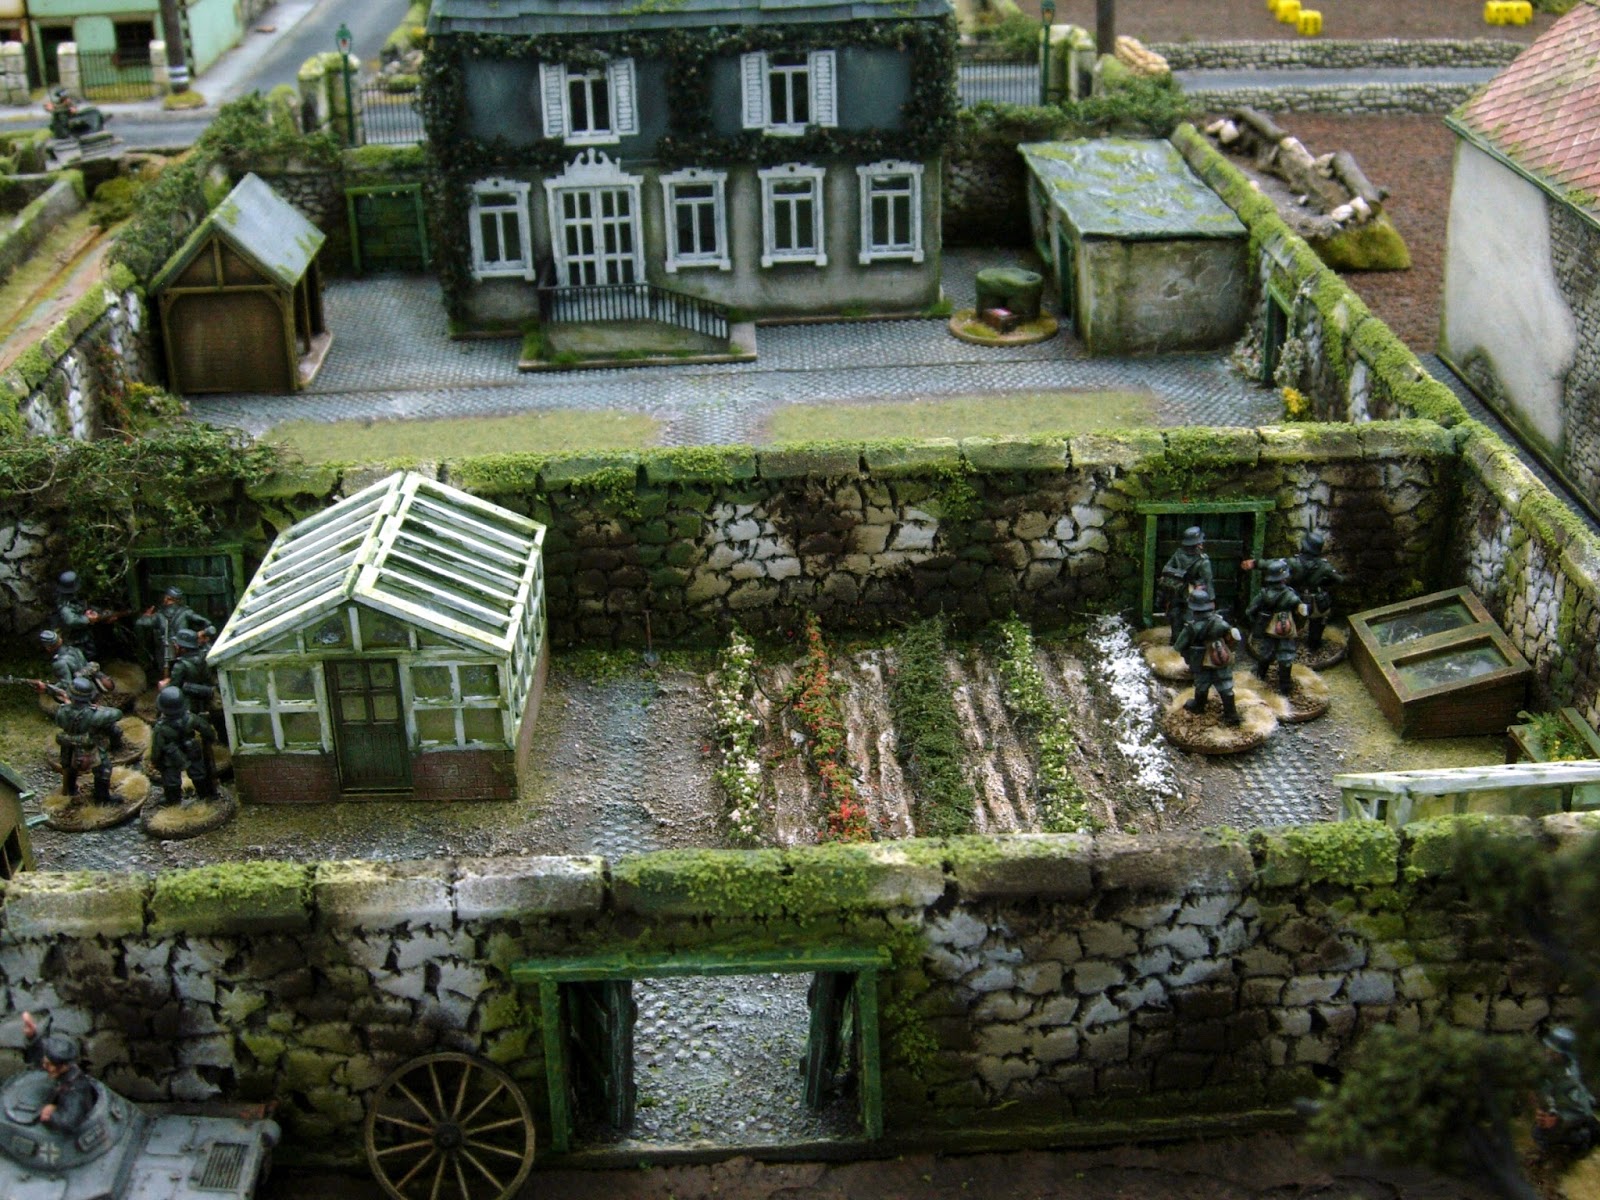
First of all Merry Christmas and a Happy New Year for 2016 to all of you that visit this blog.
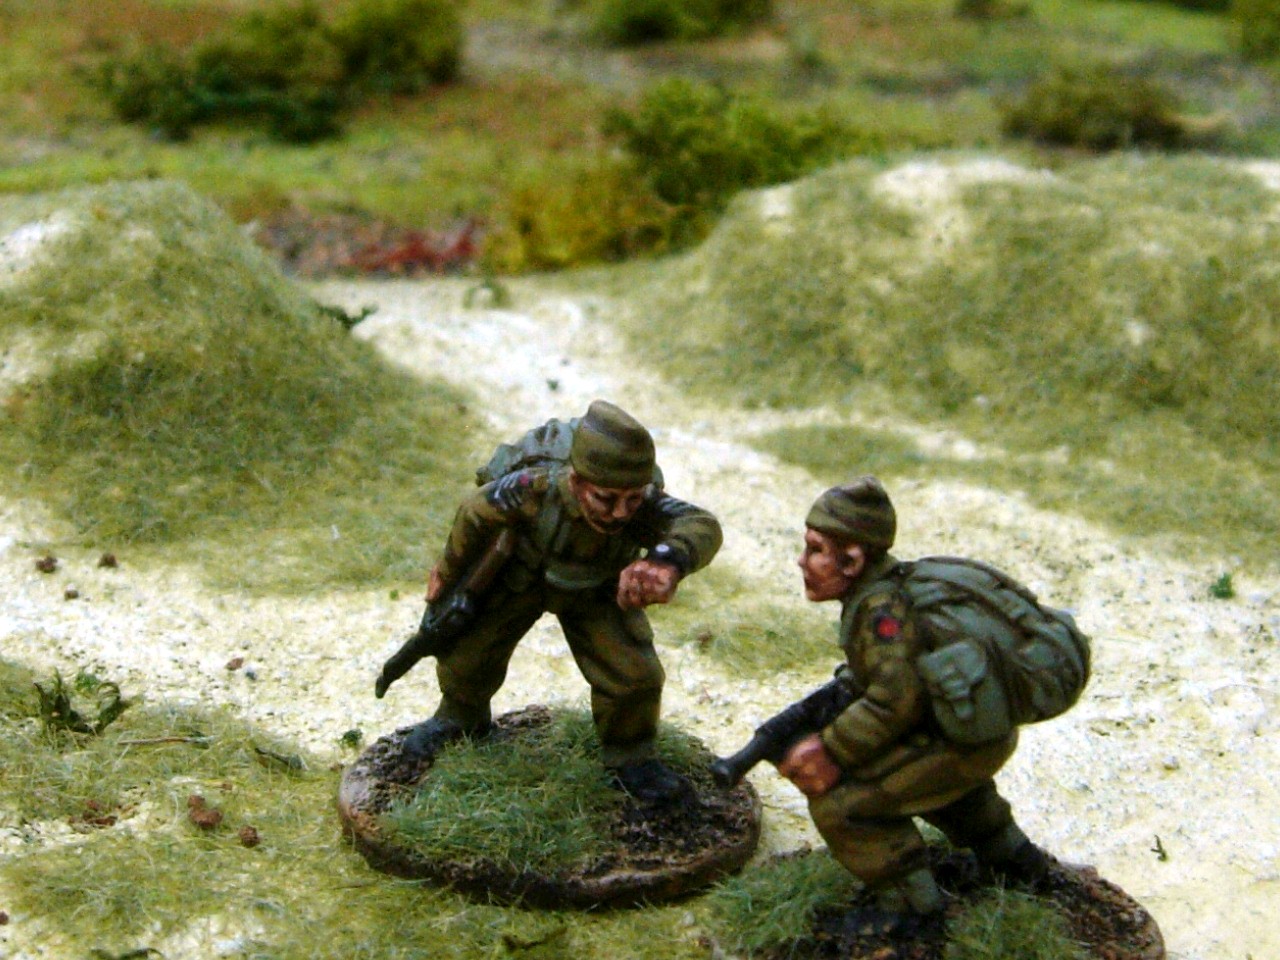
I recently finished painting some British Commandos to add to my growing WW2 collection, the figures are from Wargames Foundry and Warlord Miniatures.
I also made a small coastal board and painted some rubber dinghies, so along with the Radar Station that I had painted previously, I now had all the ingredients for a Commando Raid.
I just needed to work out some simple rules for the German sentries, to replicate the chance of them spotting the commando's as they try to make their way to the radar station.
I have listed the rules and pictures of the playtest at the end of this post for those that may be interested and for those that are not, then I have stuck a few pictures at the beginning.




SENTRY RULES.
Roll each German phase for static and mobile sentry.
Static Sentry - roll 1 xD6 - on a 1 or 2 sentry turns to his left. 3 or 4 turns to his right. 5 or 6 stays as is facing forward.
Mobile Patrol - will continuously walk the fence line from one table edge to the other. Roll 2 x D6 and that is how far they walk each phase. As static sentry, will be able to spot up to 12 x inches in front and due to several guards in the patrol, they can also spot up to 6 x inches on either side.
If facing the direction of enemy, there is a chance of spotting them if within 12 x inches. Roll 2 xD6 and if the number rolled is equal or higher to the distance between figures, then they have been spotted.
For example - if the sentry rolls 9 on his two dice and the commando is only 7 x inches away, then he has been spotted.
If a commando can approach the sentry from behind, making base to base contact without being spotted, he will take the sentry out on a 4,5 or 6. If he can only get within 4 x inches then 5 or 6. If he fails, then the sentry will set the alarm.
If the alarm goes off, a flare gun has been fired into the air and night turns into daylight, lasting until the end of the turn. There will then be one phase of darkness until the German defenders for one activation will set another flare off.
I have 'solo play tested' these rules as part of a scenario using the TFL's Chain of Command WW2 rules.
I have not used a 'Patrol Phase' with this scenario, the Commandos will start in the sand dunes and the Germans will have one section spread out on sentry duty and the rest in their barracks based at the Chateau. There is also an MMG team in the bunker.
There are 3 x static posts, 2 x placed along the perimeter fence line and one at the barrier entrance to the Radar Station. There is also a 4 x man mobile guard, patrolling the length of the fence.
THE FORCES
BRITISH COMMANDO'S Elite.
Command Dice 6
Support Squad
Senior Leader smg
Radio Operator
2 inch Mortar team 2 x crew
Bren team 3 x crew
Sniper
2 x Squads of
Senior/Junior Leader smg's
Bren Team 3 x crew
Rifle Team 5 x riflemen
Engineer Squad
Senior Leader smg
4 x engineers with 3 x smg's and 1 x rifle.
BRIEFING
It is midnight and your platoon has been dropped off by the Royal Navy about a mile away from the French coast. Your small force has had to try and battle their way to shore in their rubber dinghies, fighting their way through choppy sea's.
You have eventually managed to arrive on the beach intact and your objectives are as follows.
Engineer squad - remove as much technical equipment that your team can carry in your Bergen's and then destroy the Radar Station. (occupy radar station until end of a turn to achieve objective)
Secondary Objective - Kill or capture Senior German Officers staying at the nearby Chateau.
We have reason to believe the German Garrison is platoon strength made up of mostly old men and young boys and are rated as Green. There is also a pillbox built into the Radar Station and once the alarm goes up, a strong likelihood that German armour will make an appearance. ( Panzer 38(t) will appear at the start of the next turn after the alarm has gone off)
The support squad deploy at the edge of the sand dunes and go on over watch.

The Engineer squad advance up the centre, flanked on either side by squad one on their left and squad two on the right.

As squad (1) approaches the perimeter fence, they can see a German mobile patrol reach the end of the fence and then about turn and move off in the other direction.

Engineer squad have a clear path to the perimeter fence.

Squad (2) on the right flank can see a single German sentry up ahead.


The Engineer squad in the centre are about to cross the fence with plenty of time to spare. The mobile patrol are moving in their direction but they are still along way off. (Crossing the fence, roll 2 xD6 and discard the lowest dice)

The German sentry rolls to see if he spots commando squad (2) which are 10 inches away, he only rolls 7 so is unable to spot them.

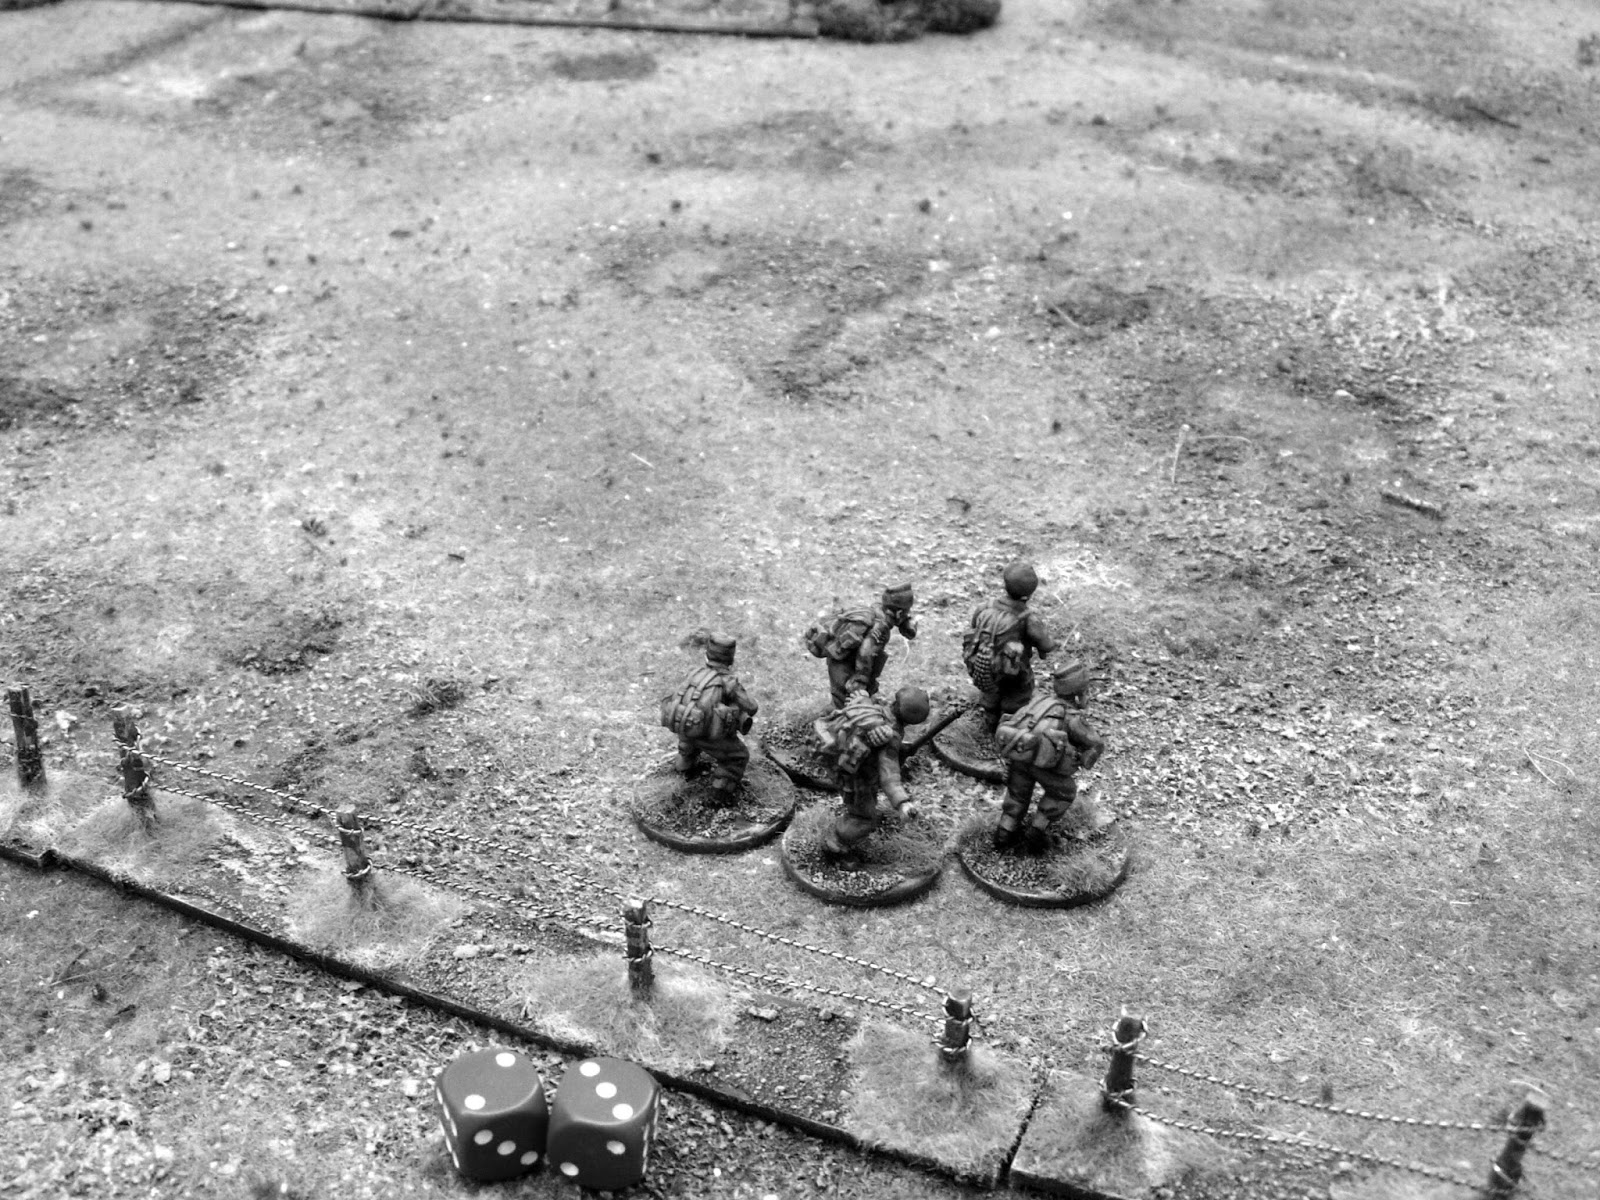

Mobile patrol roll 2 xD6 and move along the perimeter fence but are too far away to spot Engineer squad.

Squad (2) see their chance and advance towards the fence as the sentry has rolled and turned away from them.

Engineer squad making good progress in the darkness towards radar station.

Sentry rolls a 5 so keeps his same facing with his back to squad (2)
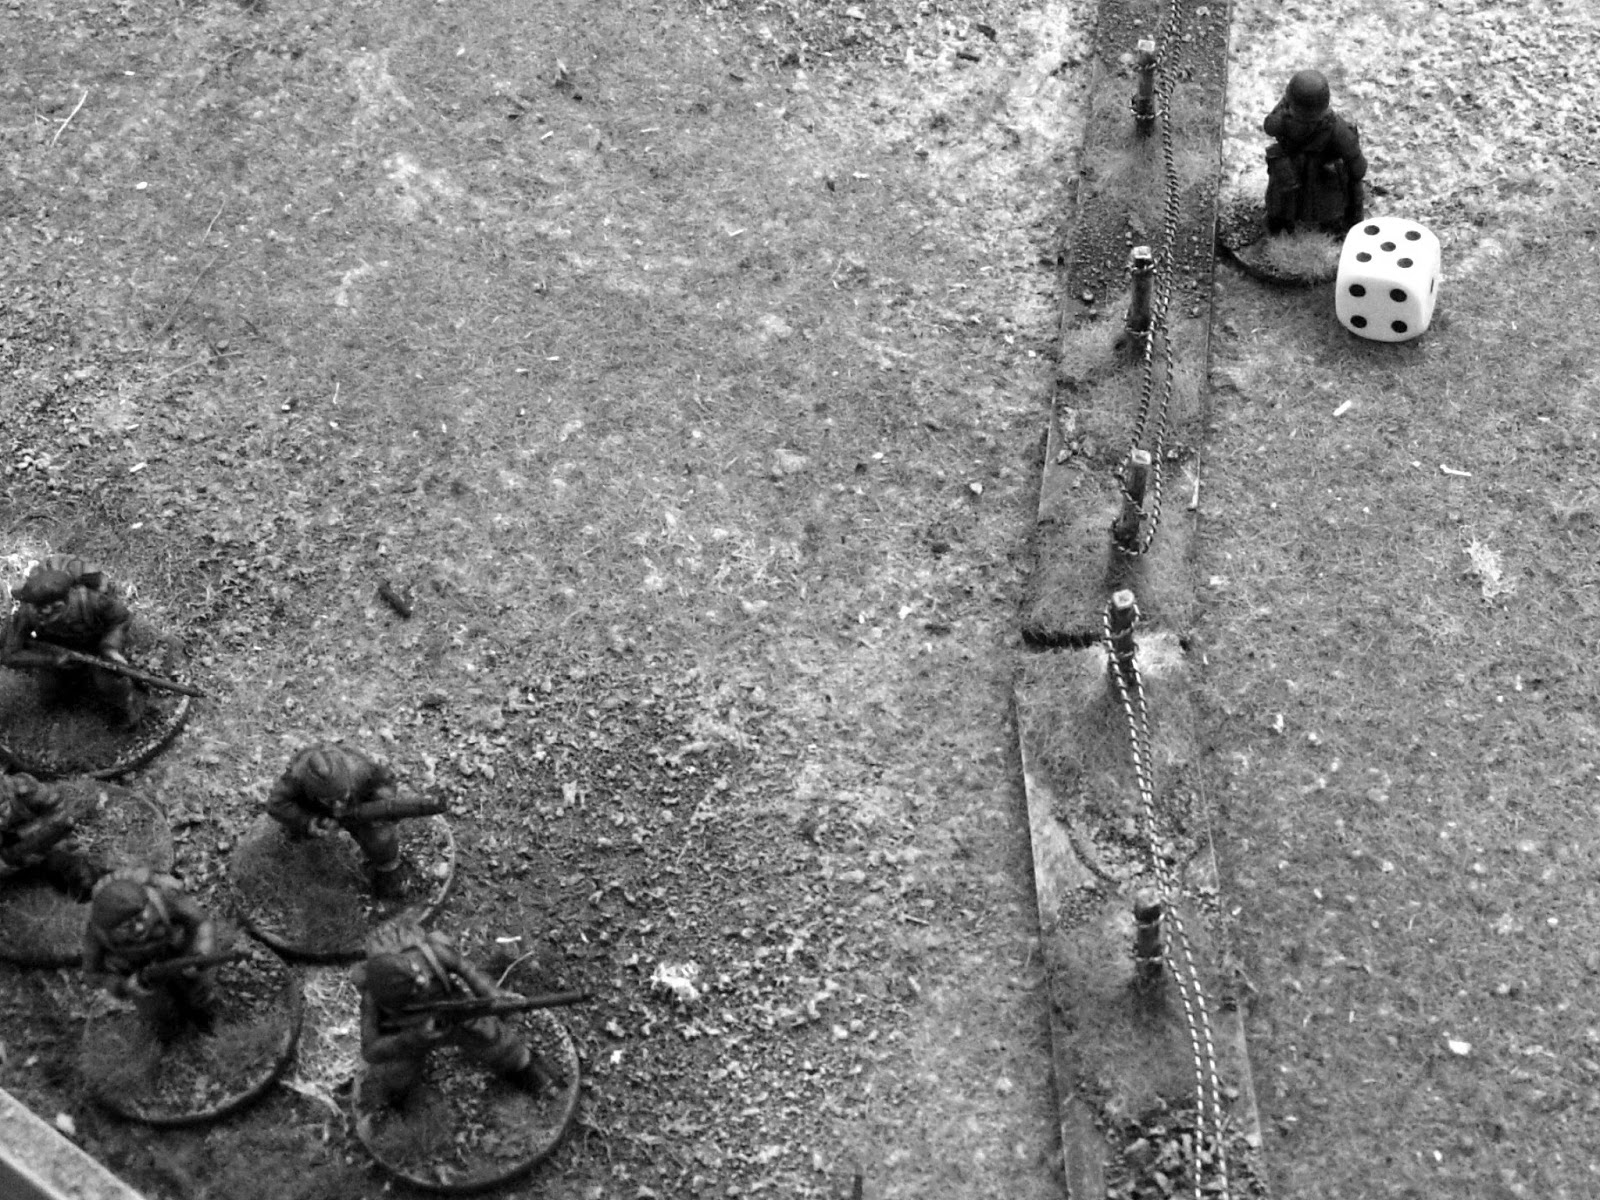
German mobile patrol roll high and move within 12 inches of Engineer squad but then don't roll quite high enough for spotting.

Sentry rolls a 6 and keeps facing towards squad (1)

Brits roll double 6 and get the next phase, Squad (2) move up to the fence whilst the sentry has his back turned.

Engineer squad can see another German sentry ahead at the barrier to the radar station.

Squad (1) try to give themselves as much distance from the sentry but they are within 12inches so there will be a spotting test.

Again, the sentry doesn't roll high enough and the commando's will climb over the fence discarding the lower of the two dice.

Squad (2) climb the fence and the commando dispatches the sentry from behind rolling a 5, needing a 4,5 or 6.

Engineer squad within 12 inches of sentry but he has turned to face the other way.
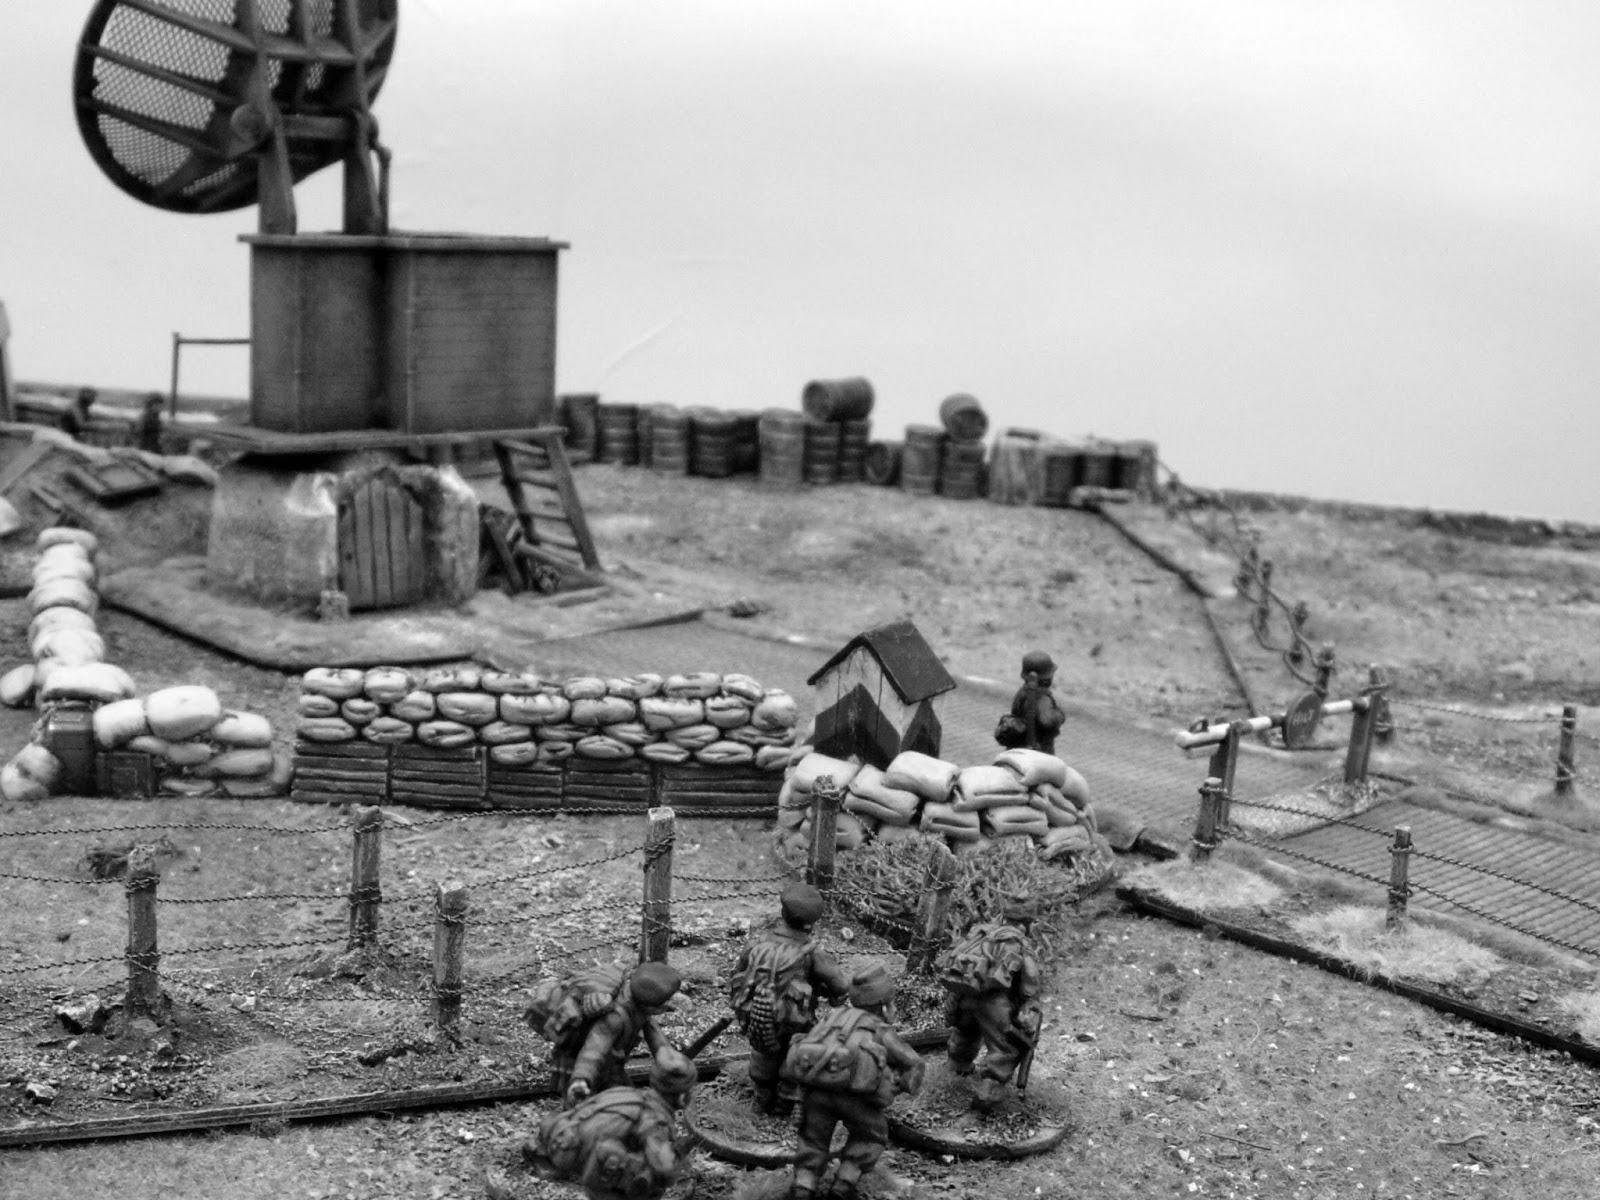
German mobile patrol still moving along the fence line and will eventually discover the dead sentry.

The sentry at radar station has rolled a 2 and so turns to face his left, which is good for the approaching commando's as he will still have his back to them.

Commando's are now right behind the sentry but need to spend the next turn getting over the barrier without the guard turning around.

Squad (2) making their way across open ground towards the chateau to try and achieve the secondary objective of killing or capturing the senior German Generals residing there.

.The commando's luck holds out, the sentry rolls a 5 and keeps facing in the same direction. The commando's will be able to climb the barrier and attack the sentry from the rear.
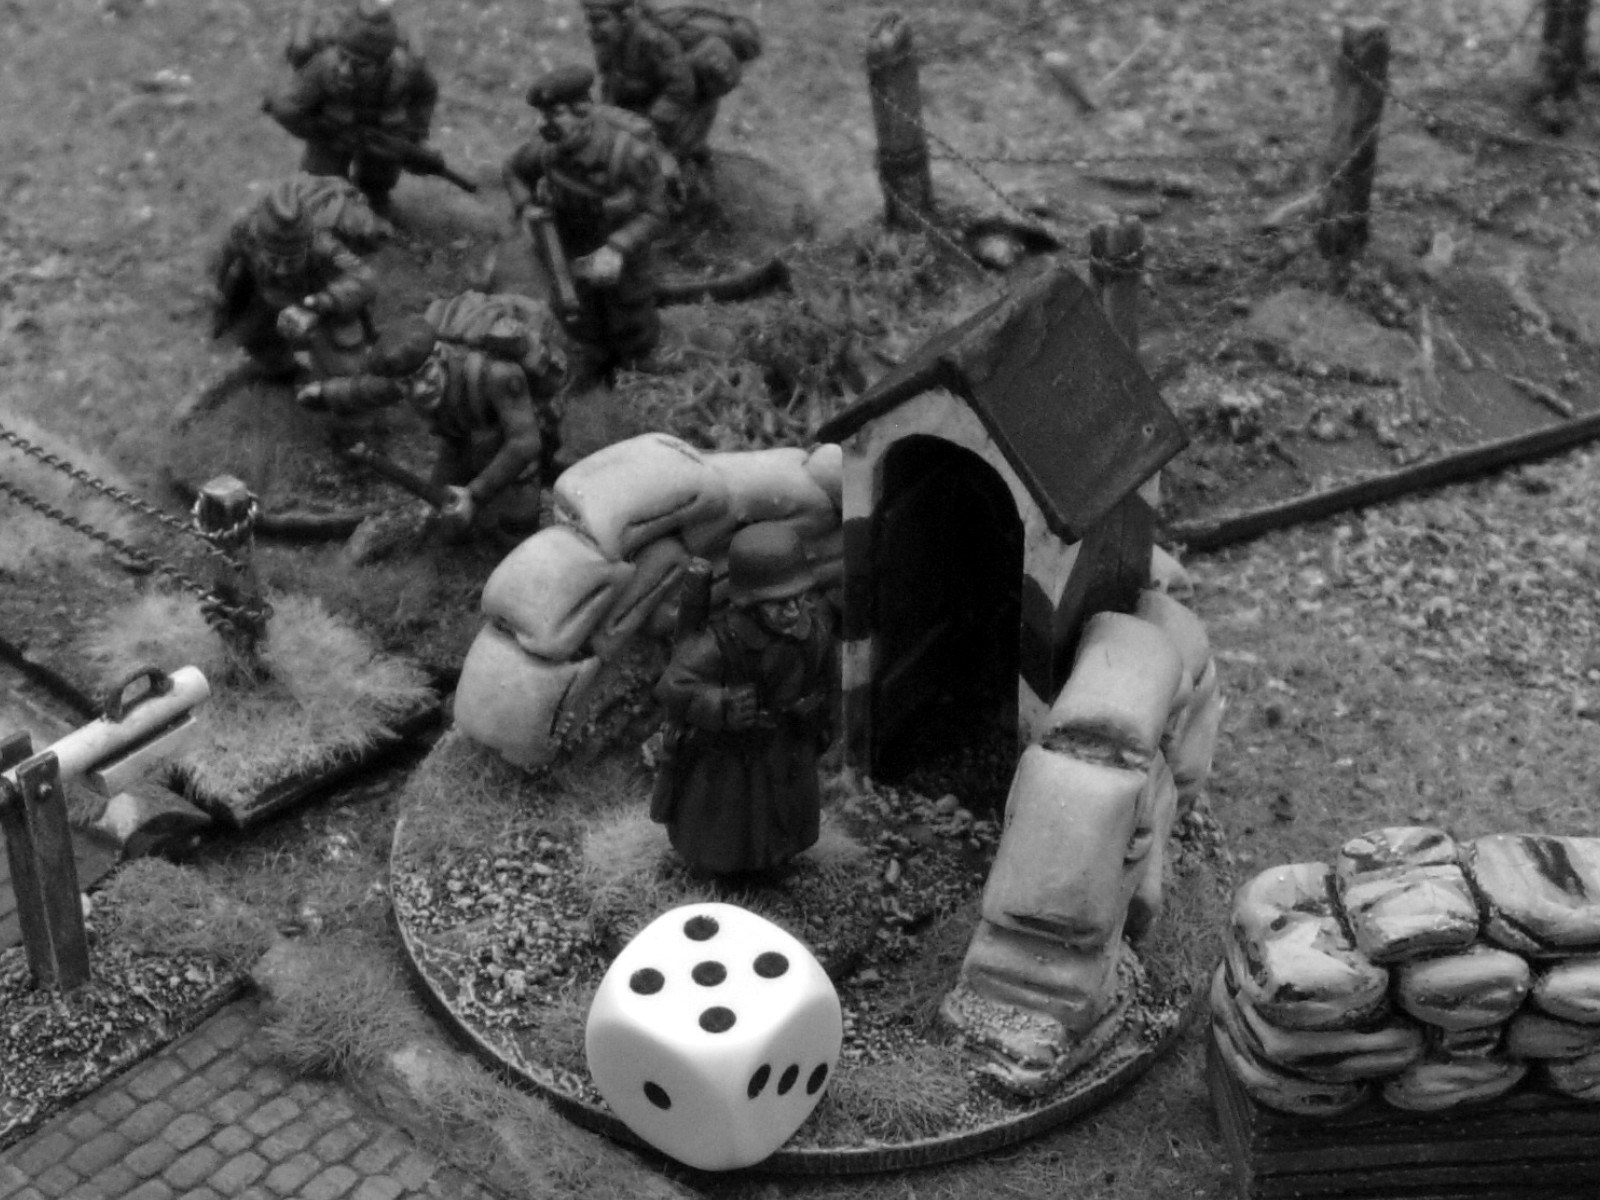
The mobile patrol advance 2 x D6 and move within spotting range, they roll and easily spot the dead German sentry. Their next activation they will fire the flare gun into the air, signalling the alarm. The commando's have one activation left before things light up.
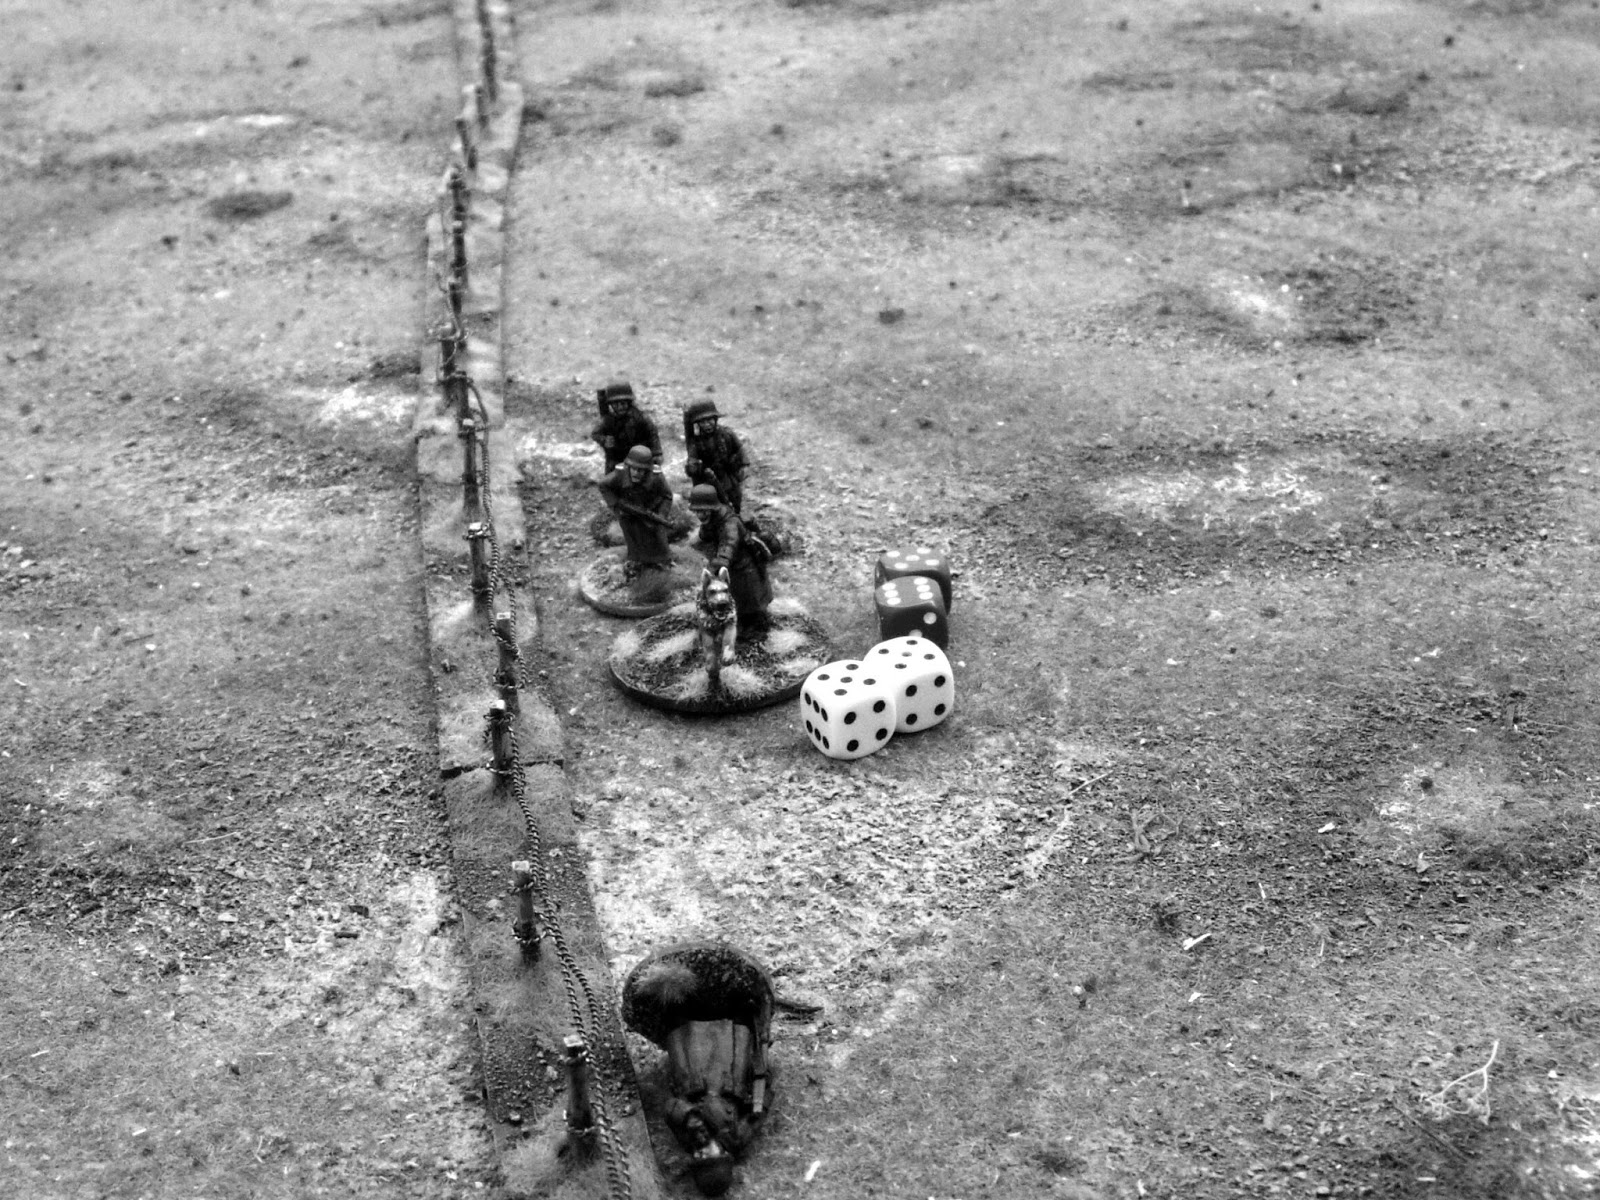
Squad (1) have made good progress and slip around the side of the pillbox just before the alarm goes off.

The LMG team exit the bunker to support and cover the flanks of the MMG team inside.

The commando's try to make the most of their last phase of darkness, the commando rolls a 1 (needed a 4,5 or6) and fails to dispatch the guard.

Squad (2) hears the warning shout and make that last dash forwards in the cover of darkness.

The flare goes up and turns night into day, The LMG team take a full move to get into position so are unable to fire this turn.

The close combat continues between the commando and the sentry but as the commando is two grades higher than the green sentry and he is 'aggressive' he gets to roll 4 dice to the guards 1. They both need to roll a 5 or 6 to get a kill and on this occasion the commando's training pays off.

Squad (2) are in the open with their backs to the German mobile patrol who open fire on them but miss.

The commando support squad who were on over watch, see this and their 2 inch mortar drops smoke in between the mobile patrol and squad (2) and the sniper also takes out one of the group.

Squad (1) Bren team inflicts one casualty and one point of shock onto the German LMG team whilst the rest of the squad advance into hand to hand combat with them.

The rest of squad (1) in combat with what is left of the LMG team.

The Engineer team have reached the radar station and start stripping and packing any useful equipment that they can carry.


The Germans have now reached a full chain of Command dice and so end the first turn, This will allow them to bring on the Panzer 38(t) in the start of the next turn.

The German Generals quickly exit the chateau into their awaiting transport along with their motorcycle guard.


Squad (1) are able to toss a couple of handgrenades into the rear of the pillbox and finish off the MMG team inside.


The commando's are now able to play their full chain of command dice and end another turn. This enables them to move the Engineer Squad out having achieved collecting equipment and then destroying the radar station.


Squad (2) can only partly see the German Generals in the forecourt of the chateau so spend one dice moving and then firing at half effect. Unfortunately they only roll a 1 for movement and only cause 1 point of shock on the escort.

The Commando's secondary objective makes good their escape.

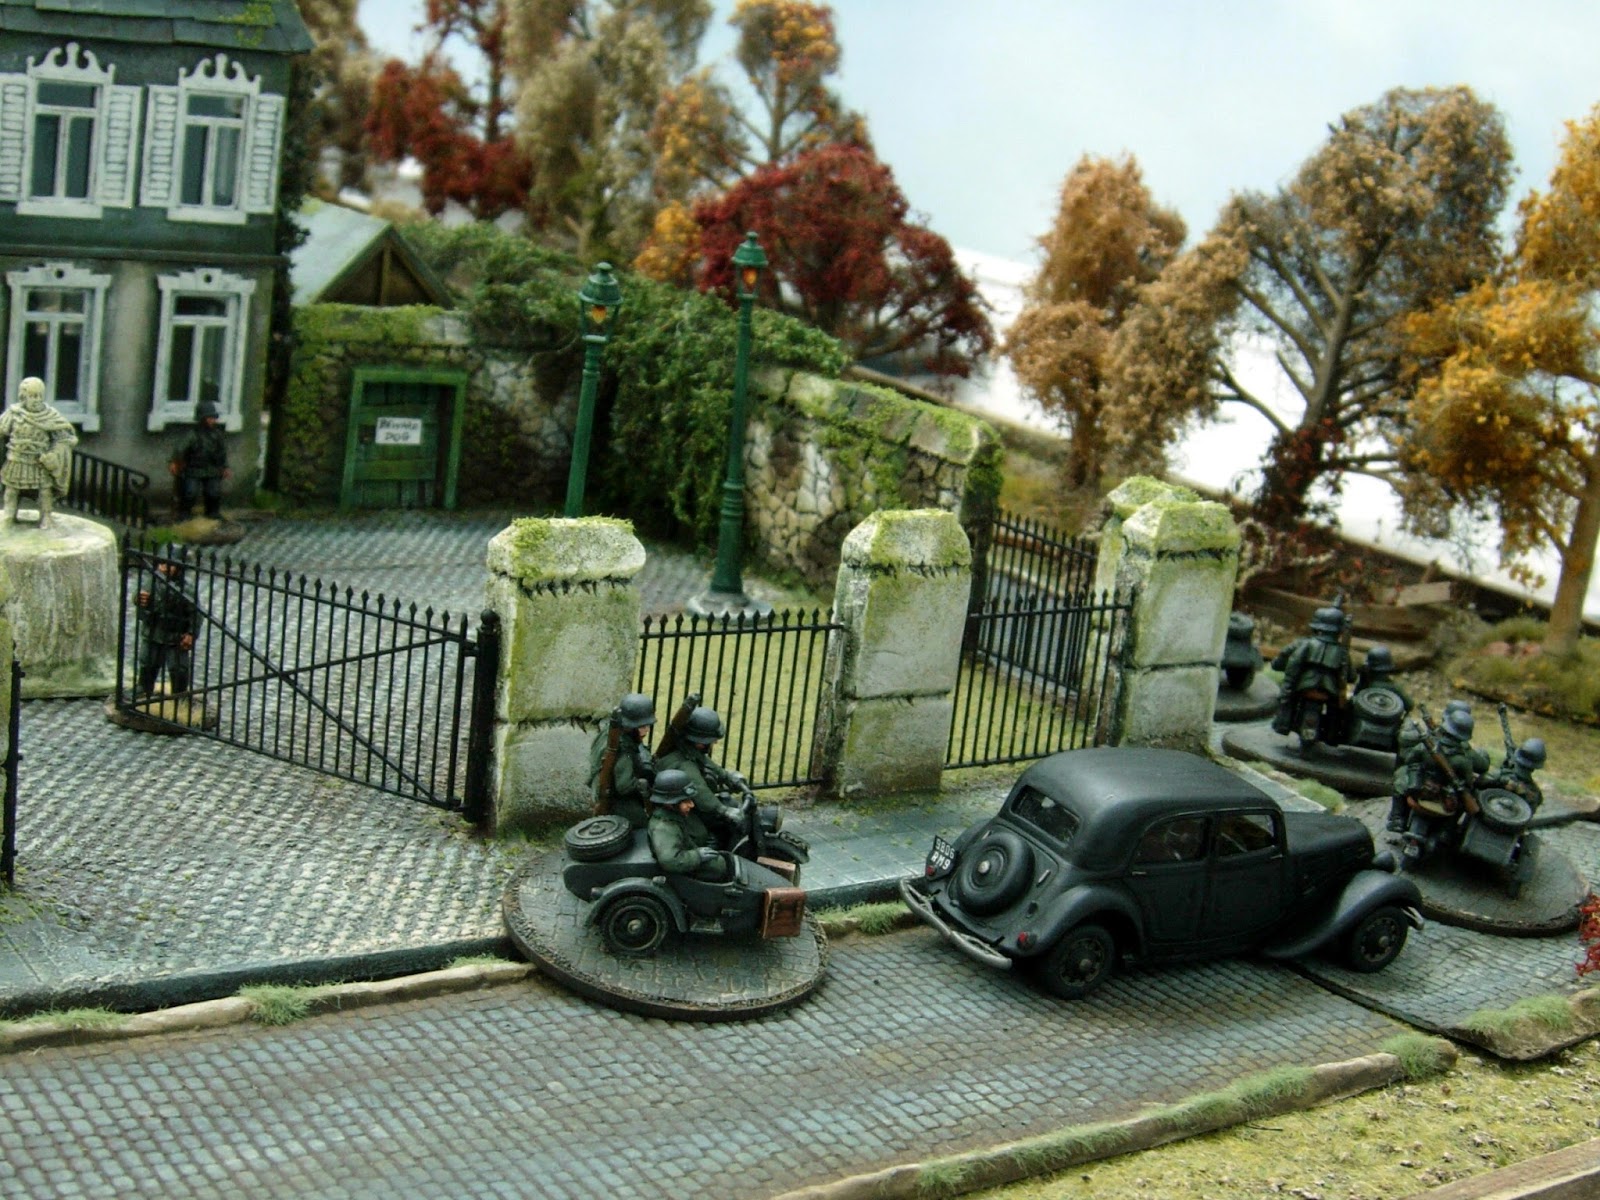
The Panzer 38(t) advances quickly down the road towards the radar station.

Squad (1) and the Engineer Squad start to make haste.


The tank commander sees his first target, Squad (2) caught out in the open.

The German LMG team on the chateau roof and a rifle team on the roof of the barracks get themselves into position to fire at the escaping commandoes.


The Panzer crashes through the gate and closes the gap with Squad (2) being able to move and fire.

The Support Squad back at the sand dunes try to give cover with smoke from the 2 inch mortar.

Squad (2) is starting to take casualties from the combined fire of the Panzer and the infantry squad on the roof of the chateau.


The Engineer Squad on the left hand side of the picture, take the longest but safest route back to the boats. They more than any of the other squads need to escape for the mission to have been a success.


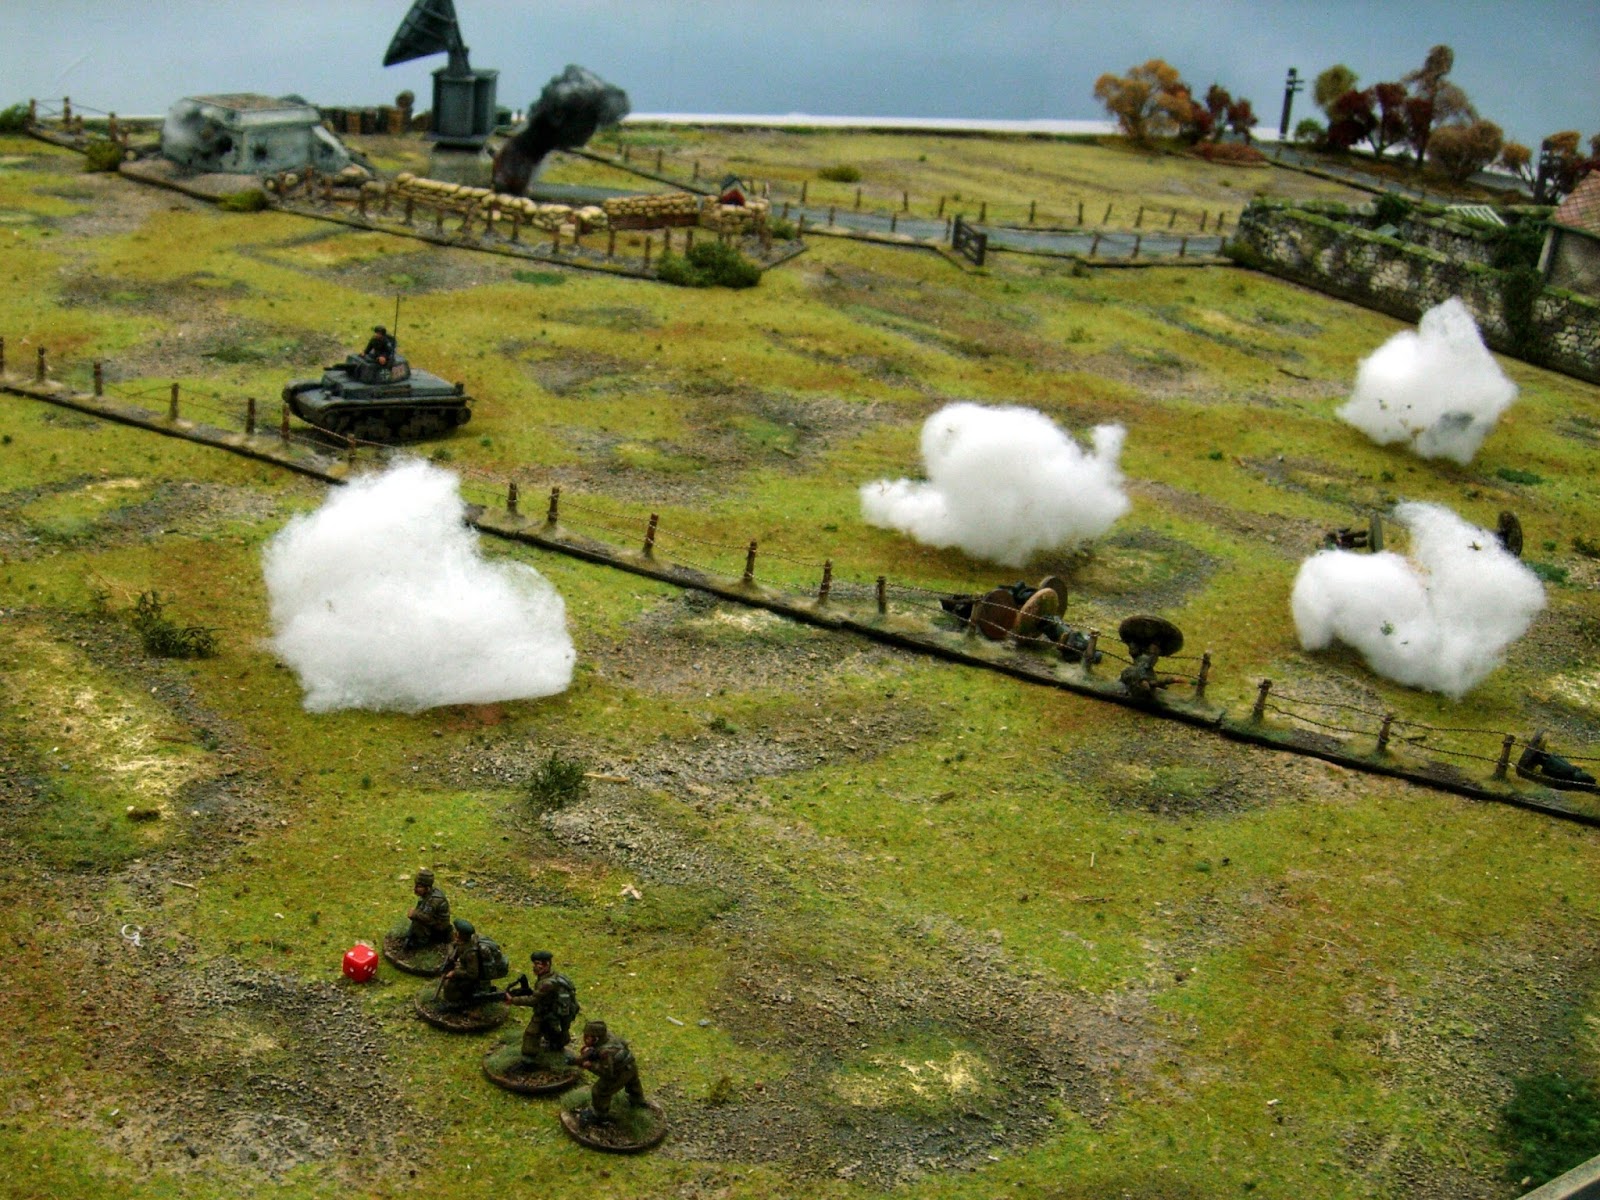


15 out of 33 commando's make good their escape along with vital equipment from the radar station. A costly but successful mission for the Brits.
I have made the platoon up from the figures I had available, so before anyone points out to me that I have not used the correct lists for the commandoes or that they have the wrong cap badges, please don't, as this post is just a bit of fun that I wanted to share.