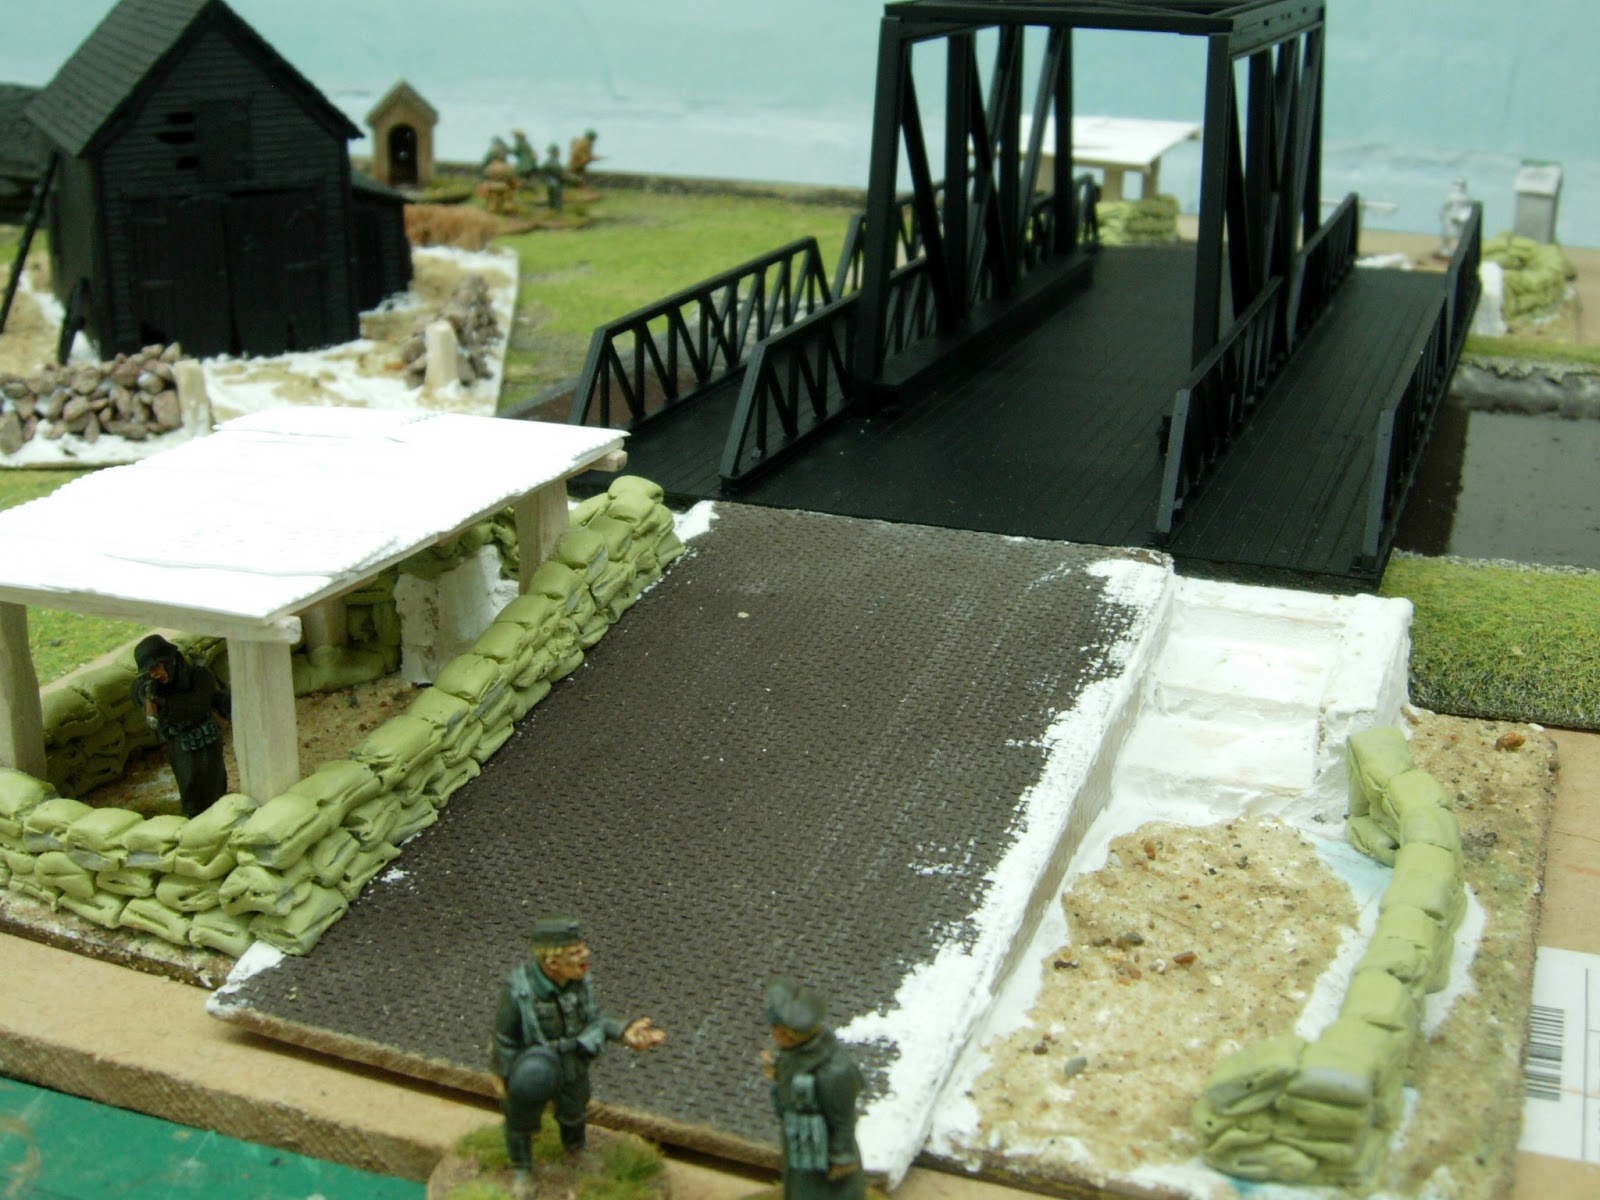
The heading say's WW2 Girder Bridge but this should be okay to use with WW1 and Modern periods as well.
I have been inspired by the battle report on Warwick Kinrade's 'Move to Contact' blog, Race to the See (as in river See),
http://warwickkinrade.blogspot.co.uk/2013/05/race-to-see.html where the objectives were to capture and hold a couple of bridges. Hence this post as I only have one suitable bridge at the moment. I also have my WW2 head on at the moment (reading Max Hastings 'Overlord') and trying to update my collection, both terrain and figures ready for the release of The Too Fat Lardies 'Chain of Command' WW2 rule set.
I was in my local model railway shop the other day, checking out their second hand 'bits and pieces corner' for anything that might be of use and I spotted this.
There were parts missing (I think it was supposed to sit on a couple of stone pillars) and the box was damaged but it was selling for just £2.50. I know it is not 28mm scale but I thought it would do, with a little work to create the impression of a steel/iron bridge. The green frame work came in three pieces which I glued together and this was supposed to slot into the grey base with some tags which were moulded onto the bottom of the green frame. I was not going to use the grey base so I chopped off the tags on the bottom and added a couple of lengths of balsa wood so that it would sit flat.
I did not want to build this bridge actually into my river terrain but make it a separate piece so I needed the base to be slightly wider than the width of the river section.
This was covered in a sheet of planking effect plastic-card. I also needed to up-scale the bridge to make it look more 28mm, so it was made wide enough to fit a walk-way along both sides of the bridge. I did this by using some plastic girders I had lying about the 'spares box'. Again I think these were originally meant for a smaller scale but would serve a purpose for the look I was after.
I then needed to make two ends for the bridge to sit on and to raise it up off of the river section. A piece of hardboard was cut to match the width of my roads and glued onto a base and a length of balsa wood, leaving a slight lip for the edge of the bridge to sit on. I also made the road protrude slightly over the lip of the base so there would not be a ledge and it would create a better fit up against my roads.
I then needed to make some steps using balsa wood for pedestrian access to the bridge. You can also see in the pictures that I have primed the main bridge section black ready for painting and the two ramp - ends have had some brick plastic-card glued along the edges of the road. (Do this before you glue the steps in place to save yourself a lot of measuring and cutting).
When dry, I covered the edge of the plastic-card, base and balsa wood in 'Tile Grout', which I have mentioned in the past that I find a lot better than using plaster as it dry's really hard. This gives the balsa wood a rough surface which when painted will give it the impression of concrete. I always use tile grout on my base work as well, which will eventually have PVA glue and sand on top.
I already have a bridge that was made for me a few years ago by Andy at 'Last Valley'. I made a couple of modifications and repainted it a while ago but whilst working on the new bridge I decided to re-do the ramps on either end of the old bridge as they had a very large lip/step on them, plus they didn't match my road. I will finish painting this off the same time as the new bridge.
I am planning on going to the Partizan Show in Nottingham this Sunday and will buy some paints for weathering the bridge to give it that rusty look. This will be good practise for me, for when I try my hand at painting WW2 vehicles.
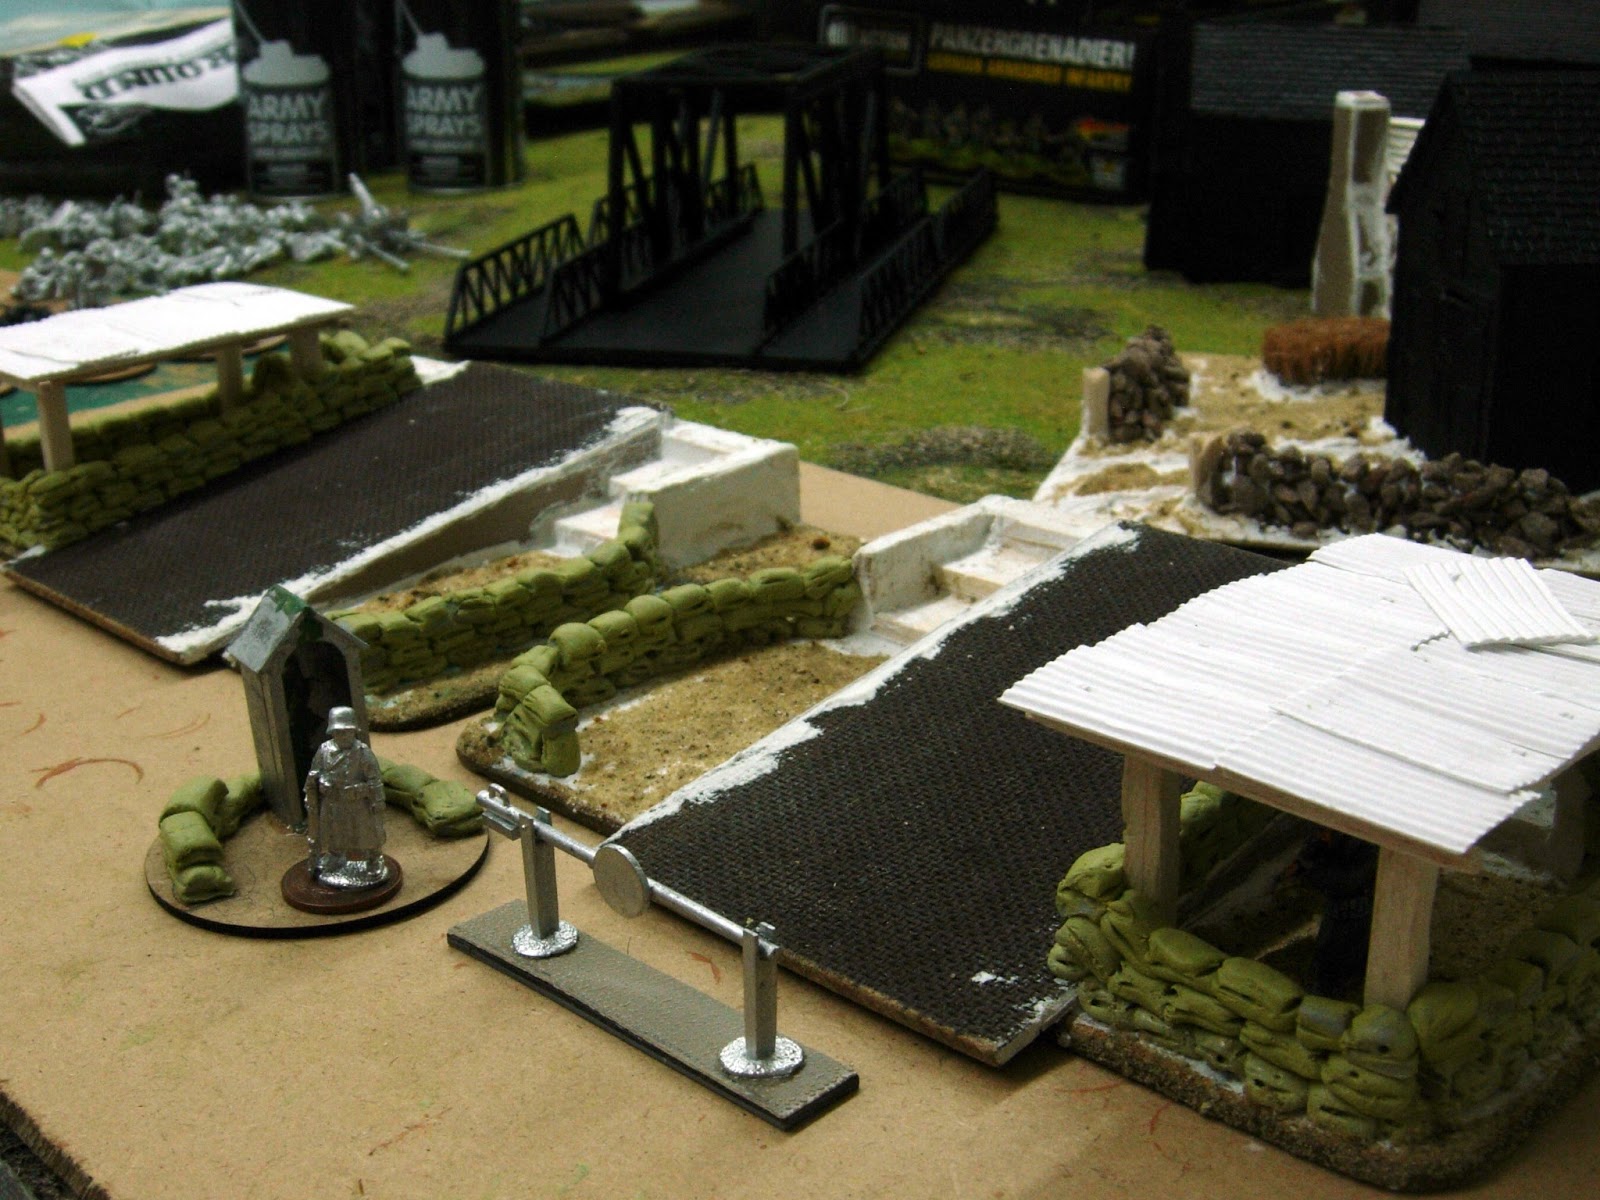
The second part of this build, I plan on making a sandbag area for each end of the bridge, along with a check-point, also the painting and finishing off of the whole thing.
I am also working on other terrain at the moment including roads, gates, signposts, telegraph poles (inspired by the images from 'The Too Fat Lardies' Richard Clarke's 'Chain of Command') and some AWI buildings, so I am not sure which order they will all be coming in.
Talking of 'The Too Fat Lardies', I was chuffed to see that my 'War of the Roses Sharp Practice' made the front cover of their 2013 Summer Special', so I am going to have to get some more ink for my printer and order their PDF.
Cheers,
Pat.